Functionally, A lightbox is nothing more than a translucent, backlit work surface. Ordinarily this takes the form of a wooden box which houses a light source and has one face of clear Plexiglas or acrylic. This box can be pulled out when needed and stowed away for later use.

Installing a backlight directly into your regular worksurface, however, has the advantage of always being within arm’s reach, therefore promoting more consistent use and more diligent work habits; All the while, taking up less space.
![IMG_20150922_163722[1]](http://www.ericschaeferguitars.com/wp-content/uploads/2015/09/IMG_20150922_1637221.jpg)
As a luthier, I primarily use the lightbox for preparing the bookmatched pairs of the top and back plates for jointing and joining. The Plexiglas provides a flat surface for resting the plates and the backlight reveals poor mating of the centerseam, as seen in the picture below.
![IMG_20150922_163634[1]](http://www.ericschaeferguitars.com/wp-content/uploads/2015/09/IMG_20150922_1636341.jpg)
A more general function of the lightbox is to check any surface for true against a straightedge. This, of course, is useful to woodworkers and craftsmen of all types.
Last but not least, the lightbox does triple-duty as a “tracing box.” In this case, the backlight provides high contrast for designs to be traced out on tracing paper. In the picture below, I am tracing out an inlay design onto a peghead design.
![IMG_20150927_220123[1]](http://www.ericschaeferguitars.com/wp-content/uploads/2015/09/IMG_20150927_2201231.jpg)
Construction
First I traced the outline of my Plexiglas sheet (28″ X 28″) onto the work surface.
![IMG_20150921_103303[1]](http://www.ericschaeferguitars.com/wp-content/uploads/2015/09/IMG_20150921_1033031.jpg)
Then I inspected the joists below.
The workbench I used for this project is not a heavy duty, solid wood workbench typical of a woodworkers shop. This is more of a DIY projecter’s workbench with a plywood surface and 2 X 4 joists for support.
I removed the center joist in the picture below. This joist would only get in the way. The other two joists in the picture I re-located so that they were about 2 or 3 inches inside of the outline that I traced onto the work surface.
![IMG_20150928_115803[1]](http://www.ericschaeferguitars.com/wp-content/uploads/2015/09/IMG_20150928_1158031.jpg)
With a 1/2″ bit, I set my plunge router to the depth of the Plexiglas sheet.
I set a long sheet of plywood to act as a fence to guide the router. I adjusted the fence until it was set so that the cutting bit would run along the traced line. Then I clamped the fence in place and cut.
I repeated this for the other 3 sides of the square outline until my tabletop looked like this:
![IMG_20150921_113709[1]](http://www.ericschaeferguitars.com/wp-content/uploads/2015/09/IMG_20150921_1137091.jpg)
I continued routing out the recess to about 3″ inside of the outline. However, I should have cleared as much material inside the outline as the base of my router would allow, before moving on to the next step. As you’ll see in the following pictures, the extra material leftover is a little bit more difficult to remove after the opening is cut.
![IMG_20150921_120600[1]](http://www.ericschaeferguitars.com/wp-content/uploads/2015/09/IMG_20150921_1206001.jpg)
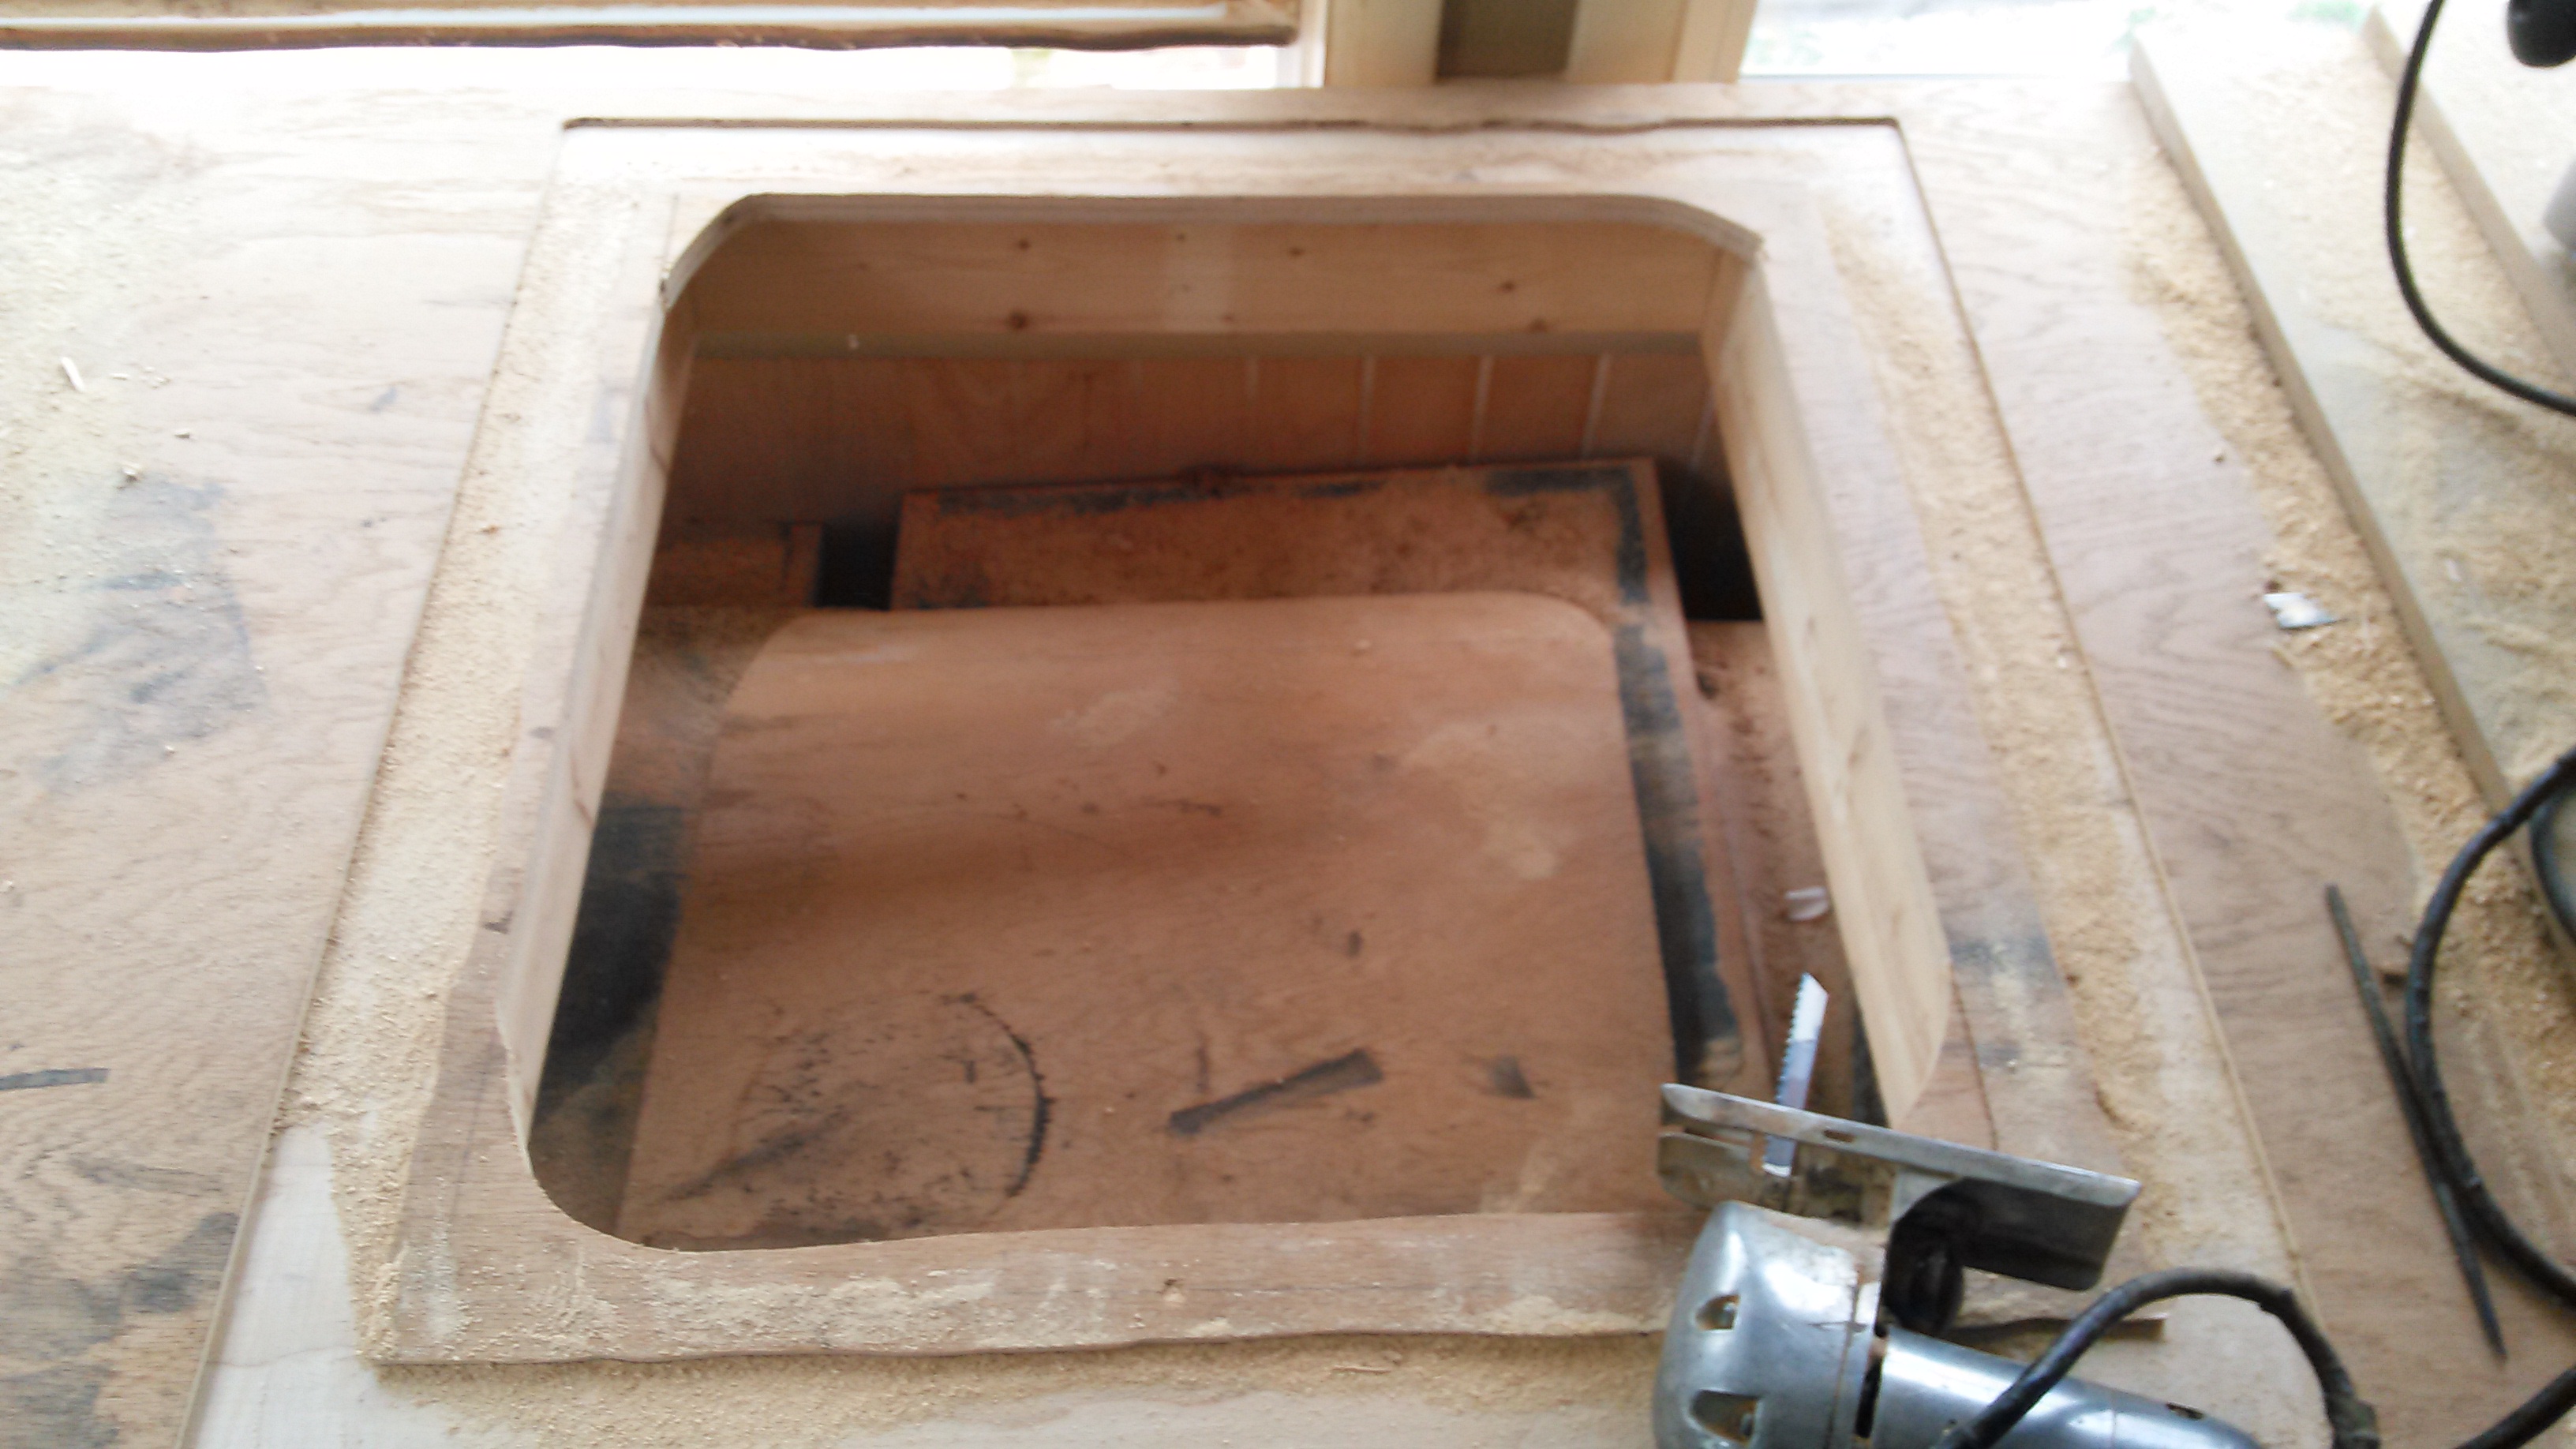
I drilled a hole large enough for my jig saw blade and cut as close to the 2×4 joists as I could.
This was the point where I wished that I had recessed more material with the router first. It wasn’t a huge deal, though. I just had to be careful and mindful of what the base of the router was being supported on while clearing the rest of the recess.
After the recess was cleared, I installed a straight cut bit with guide bearing into my router (in this case my laminate trim router) and set the depth so that the guide bearing would run against the 2×4 joists.
![IMG_20150921_133444[1]](http://www.ericschaeferguitars.com/wp-content/uploads/2015/09/IMG_20150921_1334441.jpg)
Using the guide bearing bit, I brought the opening in flush with the 2×4 joists.
![IMG_20150921_135738[1]](http://www.ericschaeferguitars.com/wp-content/uploads/2015/09/IMG_20150921_1357381.jpg)
I rounded the edges of my Plexiglas sheet and checked for fit. Perfect!
![IMG_20150921_140229[1]](http://www.ericschaeferguitars.com/wp-content/uploads/2015/09/IMG_20150921_1402291.jpg)
I installed a 2′ long LED light source, directly below the Plexiglas sheet and secured the Plexiglas in place with screws. The screwheads were recessed into the Plexiglas.
![IMG_20150922_163600[1]](http://www.ericschaeferguitars.com/wp-content/uploads/2015/09/IMG_20150922_1636001.jpg)
I drilled a hole through the front facing joist so I could run the wires to a switch.
![IMG_20150922_164128[1]](http://www.ericschaeferguitars.com/wp-content/uploads/2015/09/IMG_20150922_1641281.jpg)
The final result: A more efficient way to joint a large batch of bookmatched pairs and a less cluttered workspace! See Jointing and Joining the Plates for more info on how this is done.
![IMG_20150923_130732[1]](http://www.ericschaeferguitars.com/wp-content/uploads/2015/09/IMG_20150923_1307321.jpg)
Was this useful? I would love to hear your questions or comments! I try to answer every e-mail I receive, so please be patient with me ![]() eric@ericschaeferguitars.com
eric@ericschaeferguitars.com
Want more of this? Subscribe below for Weekly Guitar Making Tips on “The Small Shop Luthier Blog”
Want to learn more? Take a class with Eric Schaefer and build your own guitar in 8 days