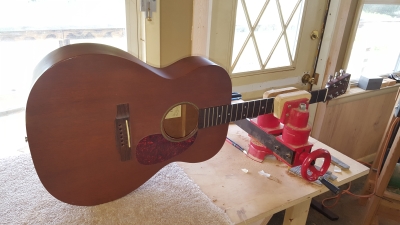
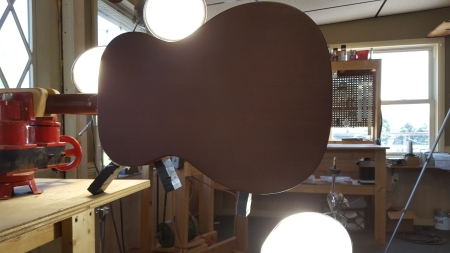
 This Martin 000-15 came into my shop with a long split in the sides on the treble side. The owner told me that the guitar was never dropped or bumped into anything. It never experienced any kind of trauma to cause the split.

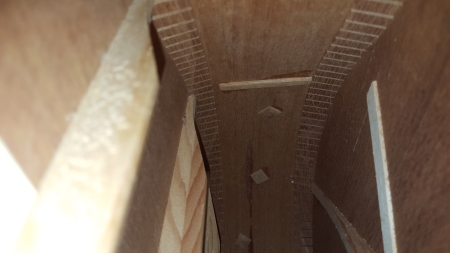
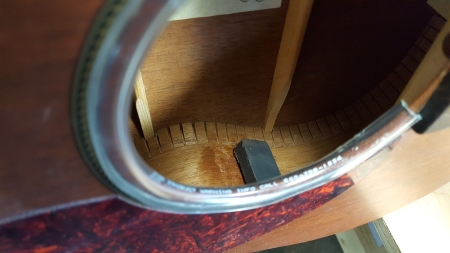
Furthermore, the guitar had been repaired previously for splits in the sides, also on the treble side. Again, the owner claims no previous trauma for the old splits as well. The picture below shows the previous repair with 3 cleats and one brace. The idea is that the cleats sow the split shut like a suture for a wound and the brace, in this case, prevents the split from spreading further along the grain if the split is re-opened.
Diagnosis: The guitar was built with excess tension in the side, or ribs, specifically the treble rib.
(The bass rib is isolated from the treble rib because the endblock and the neck block act as an enormous brace and buffer for the tension. Splits in the treble rib cannot spread to the bass rib)
The rest of the instrument shows no signs of humidity problems, poor care or neglect, so I would say that somewhere in the factory assembly process the treble rib was forced to conform to shape while the glue dried, thus “building” tension into the rib.
Cleating up the new split wouldn’t fix the problem of excess tension. The owner wanted to correct the problem FOR GOOD, so here was my solution:
Some guitars are built with braces on the sides. Often 4 or 5 braces but I’ve also seen guitars with many more braces than that. There is no widely regarded rule for that as far as I understand.
Side braces make splits less likely to occur in the first place, and more importantly, they isolate the split, preventing it from spreading. They also provide structural support for the instrument as a whole, but the primary reason I build my guitars with side braces is to prevent splits from spreading catastrophically.
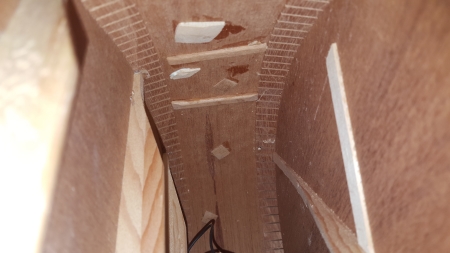
Many guitars are also built without any side braces at all. And most of the time this doesn’t cause any problems. However, in this case, there is a problem on the treble rib only. So my solution is to brace the treble rib with 4 mahogany braces and then cleat the existing split. Again, the bass rib is not affected by the excess tension, so I won’t fix something that isn’t broken!
First I determined the size and location for my cleats.
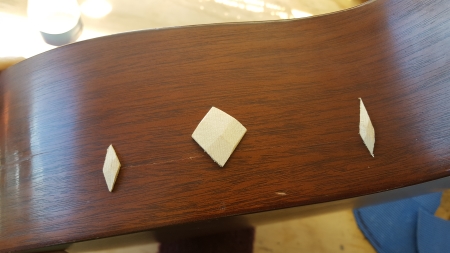
Of course, these cleats will be glued to the inside of the guitar, but I’ve laid them out on the outside for the camera.
I want to accomplish a few things here. For starters, I want cleats at both ends of the split. Then I want a cleat to suture it up with in the middle. You may notice that the middle cleat is positioned a little high and that it is larger than the other two. That is because there is a second, smaller split just above the first. The middle cleat is sized and positioned to bridge across both splits and to completely cover the smaller split.
This is enough to repair the splits. At this point, I put the cleats aside for later glue-up.
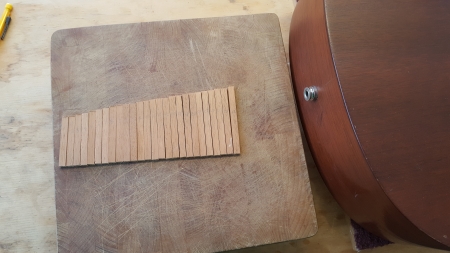
Now I turn my focus to creating braces so that no future splits occur. I want 4 braces with approximately even spacing (measurements are not necessary; just spaced by eye) and I want the braces to span from the back kerfing to the soundboard kerfing.
Because the top and back plates are domed, the length of the brace will be different for each location. Rather than get a precise measurement of length, which would be difficult, I simply cut my brace material into a sequence of lengths and test fit each length until I find one that is close. To get the fit snug, I can either sand it back until it just fits, or I can adjust the location slightly for a tighter fit, since the exact location of these braces is not critical anyway.
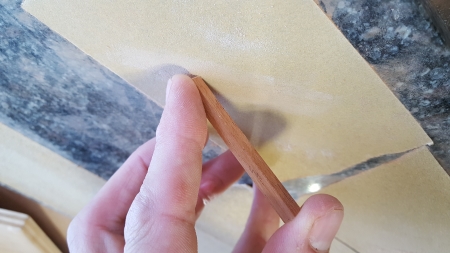
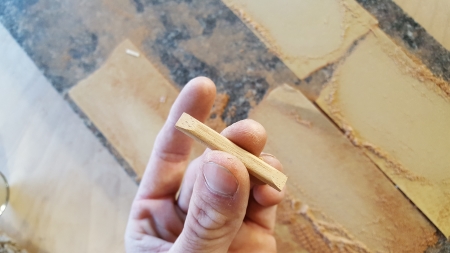
Once the brace fits, I dress the brace up on the sanding board.
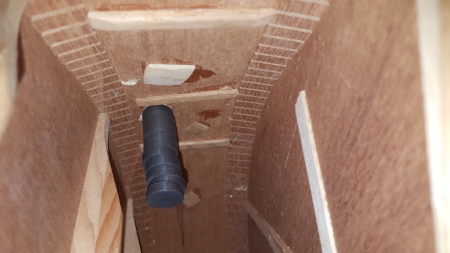
I use stacks of magnets for gluing the braces. I’ve adhered cork to the face of some of the magnets. That way I don’t mar wood or finish.
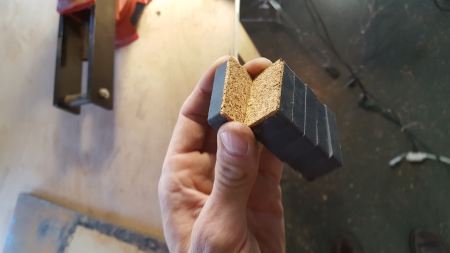
I use the padded magnets first to position the brace and then I begin stacking the other magnets. The power of magnets increases as you stack them.


Next the cleats are glued in the same fashion, using smaller magnets.

 And that’s it! A quick and dirty repair that will last. I also want to mention that these magnets were all purchased at one of the big box hardware stores, so they are not anything special. Any magnets will do, as long as you can stack enough of them to provide a sufficient clamping force.
I hope you liked this tip!
Was this useful? I would love to hear your questions or comments! I try to answer every e-mail I receive, so please be patient with me ![]() eric@ericschaeferguitars.com
eric@ericschaeferguitars.com
Want more of this? Subscribe below for Weekly Guitar Making Tips on “The Small Shop Luthier Blog”
Want to learn more? Take a class with Eric Schaefer and build your own guitar in 8 days