It all started simply enough with a referral from a local guitar shop for a fret job. This wasn’t even a refret, which can be more nuanced and touchy given the potential for damage to the fret slots during fret removal.
This was a brand new slotted fretboard that the customer ordered online and replaced the existing fretboard with. After the customer glued the new fretboard down he decided that fretwork was beyond the scope of his abilities and tooling so he called a local music shop and they referred the work out to me. Easy!
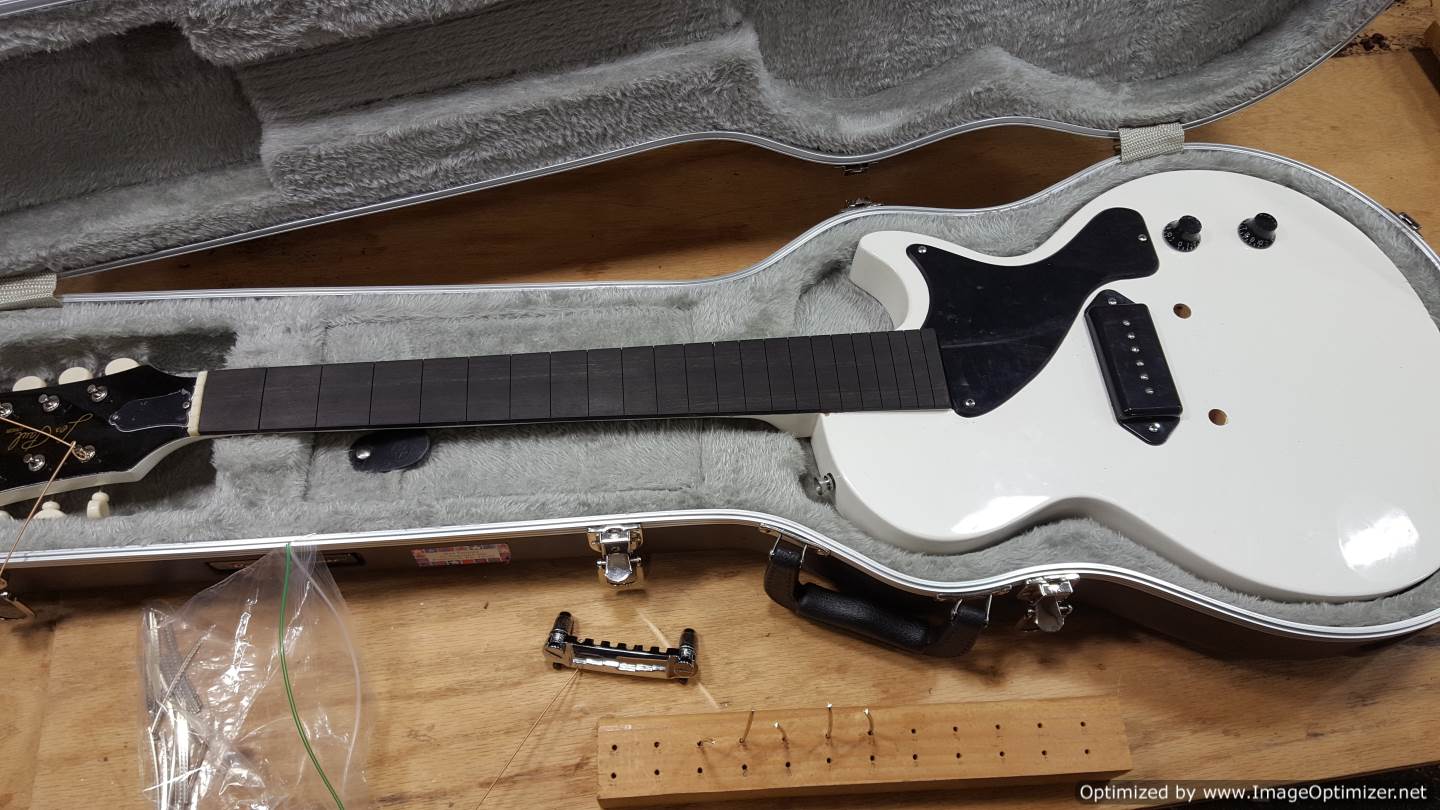
Well… The first thing I noticed was that the scale length of the fretboard did not line up with the location of the bridge. Of course, the bridge is adjustable for proper intonation based on string compensation, but the range of adjustment is small, and this bridge was well outside of this range.
My initial instinct was that the customer had ordered the wrong fretboard for this guitar. Sounds probable, right? He was a young guy with no prior guitar repair or modification experience. This was the first time he ever altered anything on an instrument besides the tuning, and he decided to replace a fretboard! That’s a bold move.
A common mistake people make in regards to determining the scale length of a particular instrument is that they measure from the leading edge of the nut to the string’s break point on the saddle and they call that the scale length. However, what they are actually measuring is the scale length + compensation. This can more accurately be called “The speaking length.”
The scale length is the speaking length of the string in theory. It doesn’t account for the real-world factors of string gauge, and the stretching of the string as it is fretted. These factors are called compensation, and they are liable to change depending on how the guitar is set up.
The correct way to measure scale length off of a fretted instrument is to measure from the leading edge of the nut to the string’s contact point on the 12th fret and then double that measurement.
Further complicating things for the customer is the fact that the Gibson 24-3/4″ scale length rarely actually measures out to 24-3/4″. The actual fretboard measurement varies slightly depending on the year, yet the designation of 24-3/4″ remains the same. This can really throw you off!

However, most suppliers of slotted fretboards recognize this confusion and make a strong mention of it on their site to educate customers prior to purchase.
So I checked the fretboards scale length with a rule and, to my surprise, it checked out! The fretboard was cut correctly for this particular guitar. The customer also claimed that he had checked the new fretboard against the old one before he removed it and threw it out, and that the fret slots lined up perfectly.
This can only mean one thing: The bridge post holes are in the wrong, damn location!
This was not a real Gibson, however. This was a fake. Gibson would never locate a bridge so far from where it should be. The bridge was outside of it’s appropriate range of adjustment by more than 1/4″, which is alot!
I should mention that the customer was fully aware that it was a fake when he purchased it, and he paid a reasonable price for what it was. However, people looking for an authentic Gibson are swindled by unscrupulous dealers all the time. The electric guitar world is full of knockoffs and outright counterfeits. Knockoffs are a different story, but counterfeits are illegal. It is not illegal to own one of these instruments but it is illegal to sell them. Premier Guitar did a good inside article on this: http://www.premierguitar.com/articles/The_Growing_Problem_of_Counterfeit_Guitars?page=2
The electric guitar world is not a world that I personally live in. I’m an acoustic guy, both as a player and a builder, so I won’t get deep into the situation and the ethics surrounding these knockoffs and counterfeit guitars, mostly because I am not immersed in that world and there are many things that I simply do not know. But I do want to say a few things, as a word of caution, to anyone who has these guitars lying around thier home and wants to get rid of them.
I would place these guitars in 3 categories:
- Knockoffs
2. Counterfeits sold as Counterfeits
3. Counterfeits sold as Authentics
When I say knockoffs, I am referring to these cheap instruments, mostly from China, that are made to resemble a certain popular guitar model in every way except in name and branding. For example, a guitar with the headstock shape, body shape, scale length, bird inlays etc. of a PRS custom 22 but with the brand name of “SX.” You can sell these.
Then there are outright counterfeits, also mostly from China. These resemble popular models in every way including the name and branding and almost always with the intention of duping someone along the chain of sales. As far as I understand, owning counterfeits is not illegal (unless you own so many that they can claim intent to sell) but selling them is illegal even if you sell them as counterfeits. Selling them as counterfeits is, of course, a more honest way to get rid of them, but I don’t know if the law sees it that way, so be careful!
For example: you post an Ebay item as:
CUSTOM BUILT 100% HANDMADE JUMBO ACOUSTIC GUITAR
( built in the Gibson J-200 Styling – This is NOT a Gibson Branded Instrument )
Again, as far as I understand, this is illegal. But I might be totally wrong. Either way, you probably shouldn’t risk it.
THEN there are counterfeits sold as authentics and that is definitely illegal! Not to mention, it is a really shitty thing to do! People can and do go to prison for this. And I’m not talking about the big manufacturers. I’m talking about music store owners and even individual sellers on Craigslist and Ebay.
Anyway, I am neither a trademark lawyer nor a musical instrument retailer. I’m not even a vintage electric afficionado. I’m an acoustic guy! So someone please let me know if you have more insight on this.
Okay, so the plan at that point was to fret the board and relocate the bridge.
After checking that the supplied fretwire’s tang matched the kerf of the fret slots, I added a slight bevel to the top of the fret slots with a triangular needle file. This bevel prevents or atleast minimizes tearout on the fretboard surface. Ebony is particularly bad when it comes to tearout.
Before I was finished with the fret job I noticed that the fretboard was coming off. Apparently the customer used a spray adhesive and no clamps to glue it on. The thing was barely on there! At this point I could have pulled it the rest of the way off with just my fingers! Instead I used a hot spatula to warm up the glue first before sliding it apart. Atleast it came off easy! The lesson to be learned here is if you are going to do a bad glue job, make sure its a really bad glue job! …so its really easy to take apart!

The fretboard lifting from the blows of the fretting hammer.
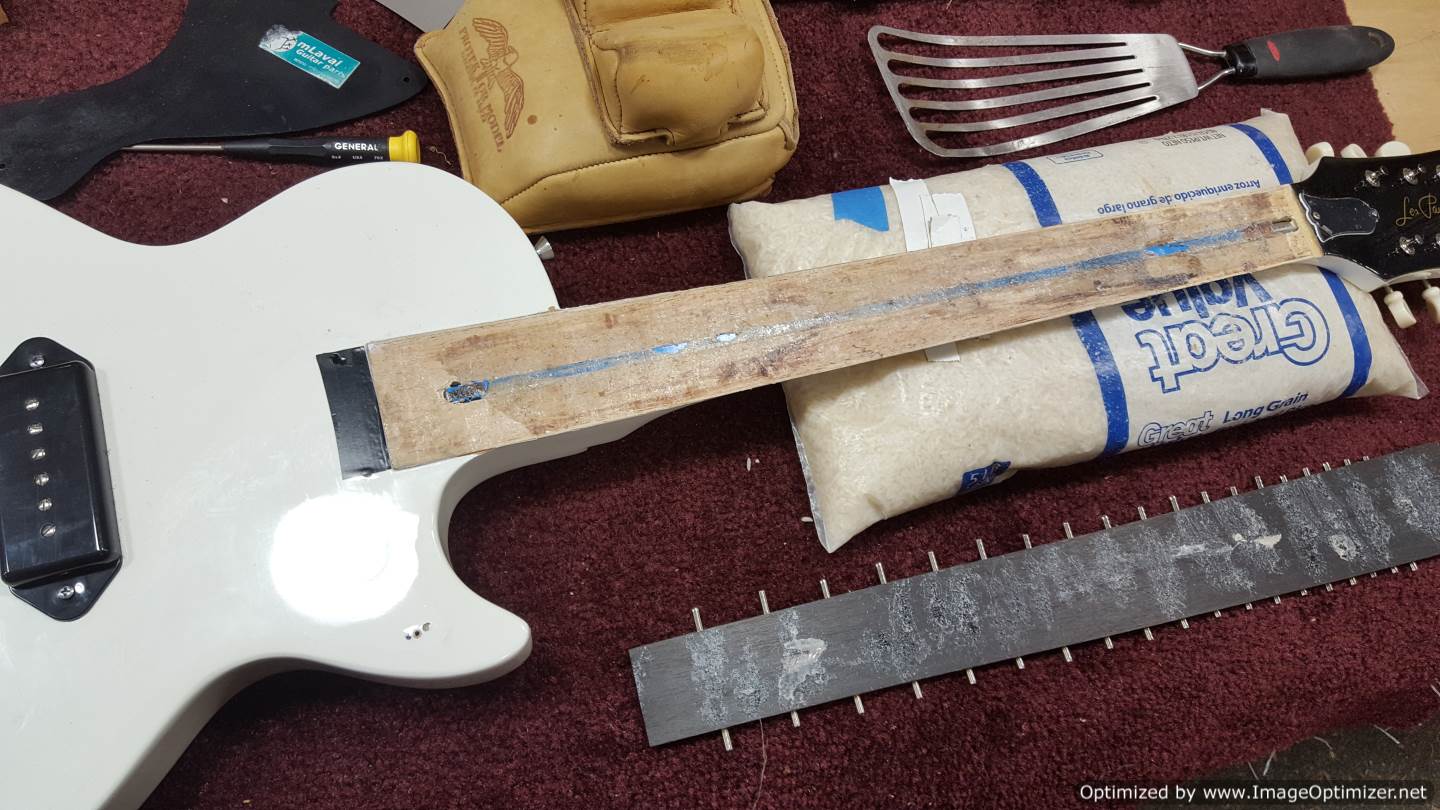
Atleast it came off easy with no tearout!
I removed the glue residue with acetone and scrapers, being very careful to keep the acetone away from the guitar’s finish.
Then, to make sure both surfaces were truly flat and glue residue free, I sanded them from 80 to 220 grit with a flat block.
Finally, I cleaned the mating surfaces with mineral spirits and then naphtha.

fretboard and neck surfaces ready for gluing.
Next, to locate the fretboard, I have to backtrack a little. I have to remove one of the frets on the nut end of the fretboard. I select a fret that didn’t really seat perfectly anyway. I heat the fret with a soldering iron to warm the wood around the tang. This makes it easier to remove, even without glue in the fret slots.
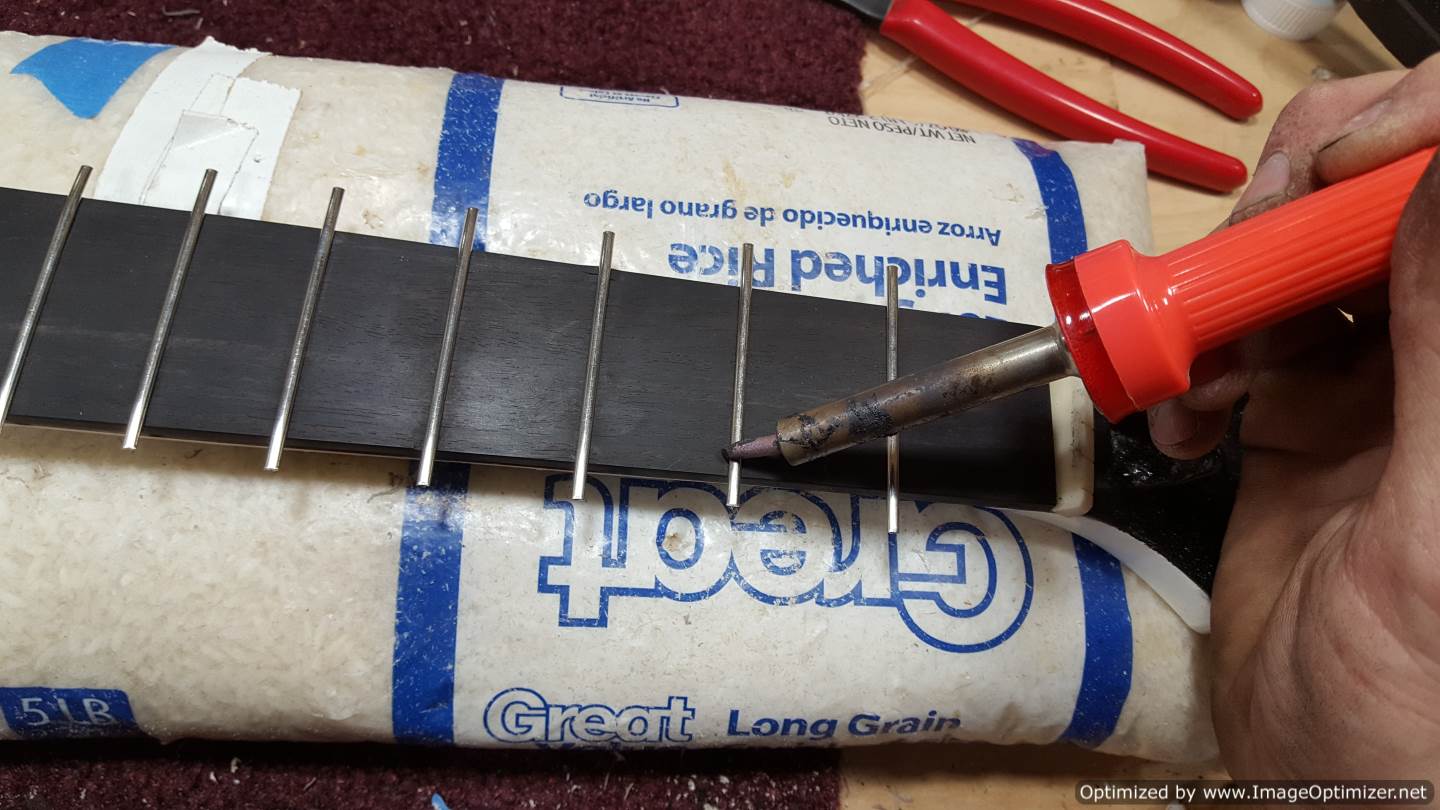
While the fret and surrounding wood are warm, I walk the fret out carefully with a pair of nippers. I do not twist or pull the fret which would cause tearout and potentially damage the fret slot. Remove it, patiently!

Now I drill 3 holes for locating pins (finishing nails with the tips ground flat), being mindful not to drill into the truss rod or to blow through the neck.
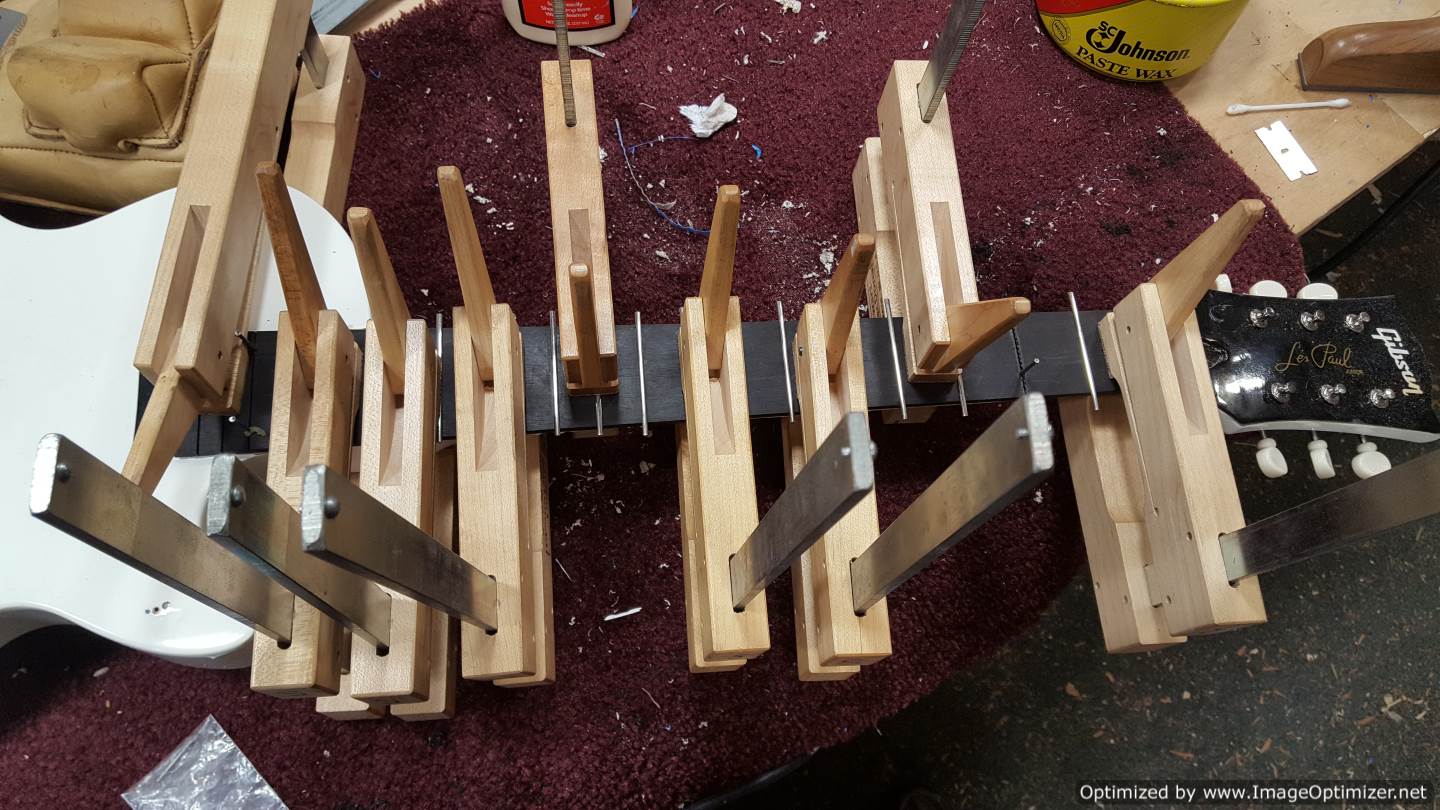
I dip the pins in paste wax so that they can be removed easily and then I glue the fretboard down using the pins to locate and hold its position.
Once all the clamps are in place I remove the pins.

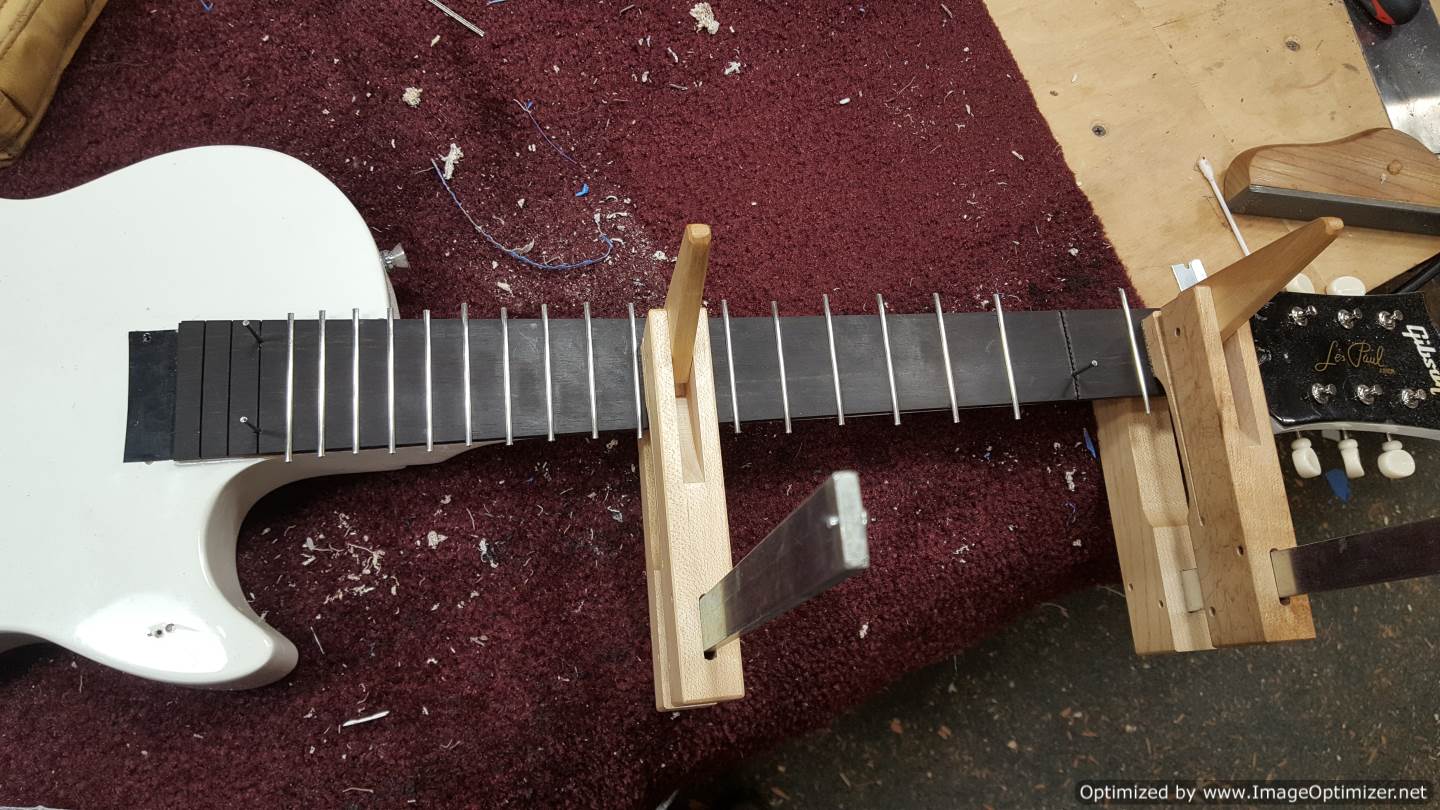
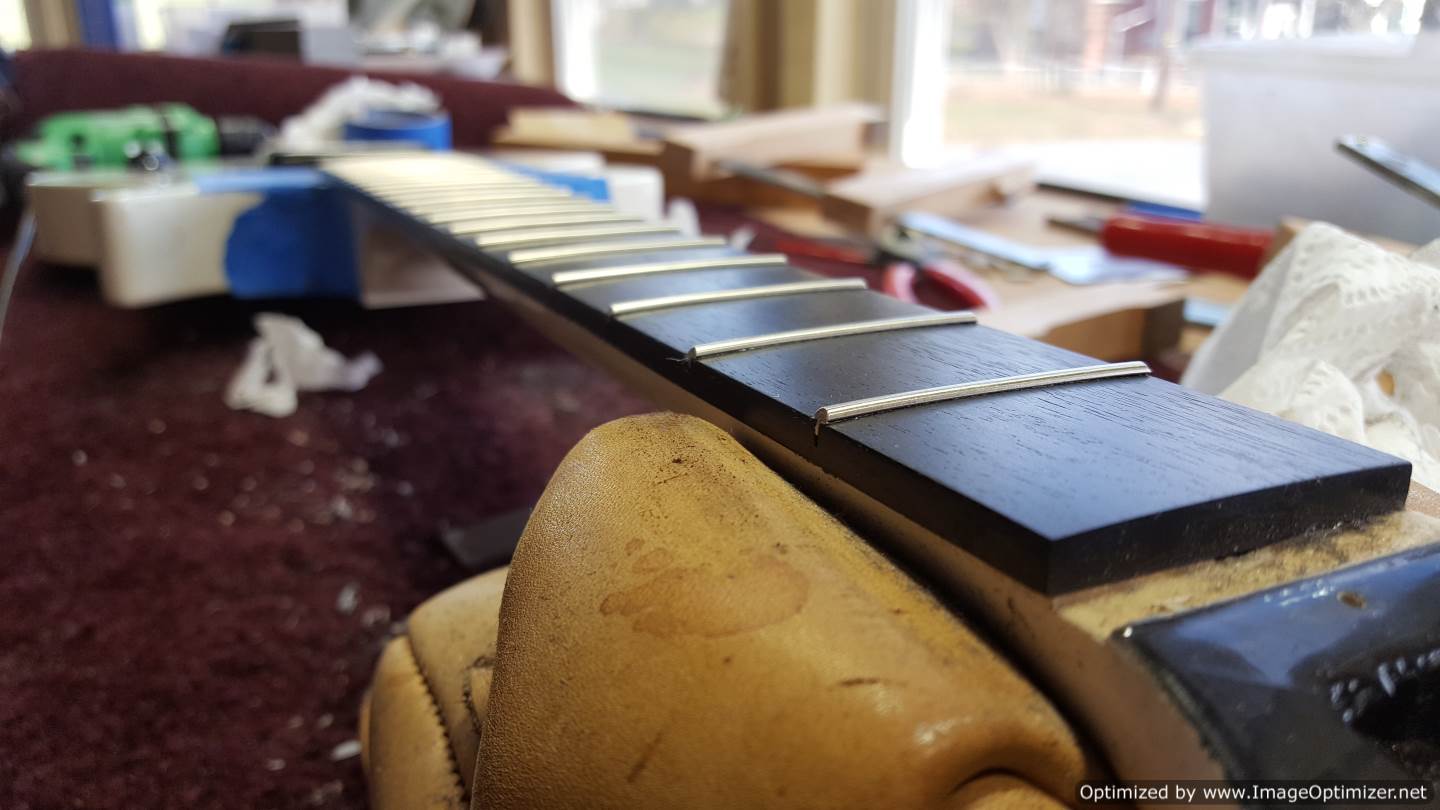
After the fretboard sits clamped up overnight, I remove the clamps and complete the fretjob by hammering in the remaining frets, beveling and rounding the fret ends and oiling and polishing the entire board. A fret level is not necessary if the board is truly flat across its length and you do a good job installing the frets. If you check the frets with a straightedge for any rocking and you only get marginal rocking, then the gains you receive from a fret level are marginal. The customer only had a certain amount budgeted for this project so I didn’t take it there.
Next I dealt with the bridge. Anyone familiar with the Stewart Macdonald intonation tool can see from the picture below how far the E string saddle points are from the pointers on the tool. And this is with the bridge adjusted as far forward as it’s adjustments will allow.

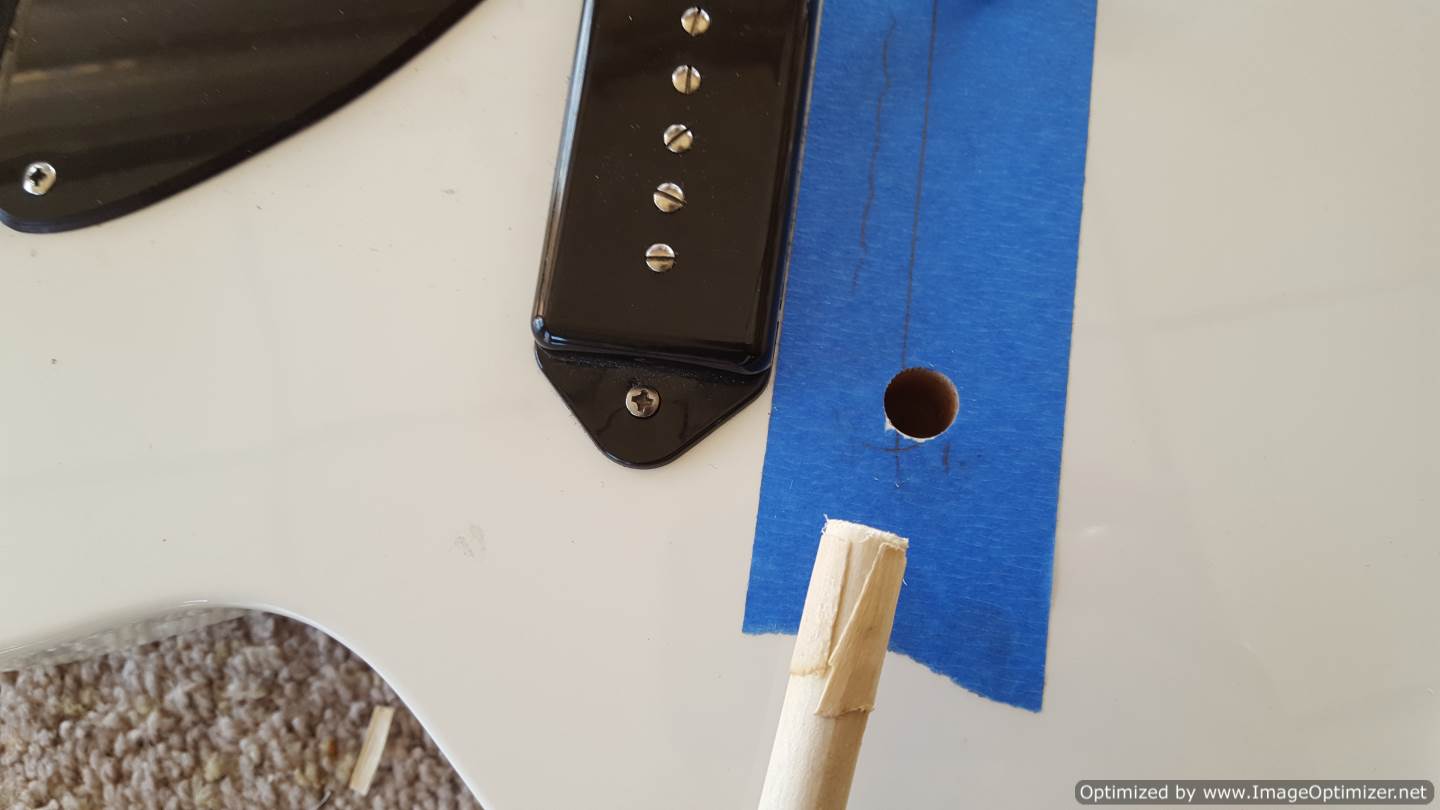
I placed tape over the area and marked out the appropriate saddle location on the tape. The strips of wood in the picture were shims found in the old bridge post holes. Even with the shims the bridge was very loose in its post holes and dipped forward under string tension. Another sign of very poor work.

I found a dowel to fill the old holes with but it was slightly undersized, so I glued some spruce shavings to the outside to make the fit tighter.
I applied wood glue and pressed the dowel in place.
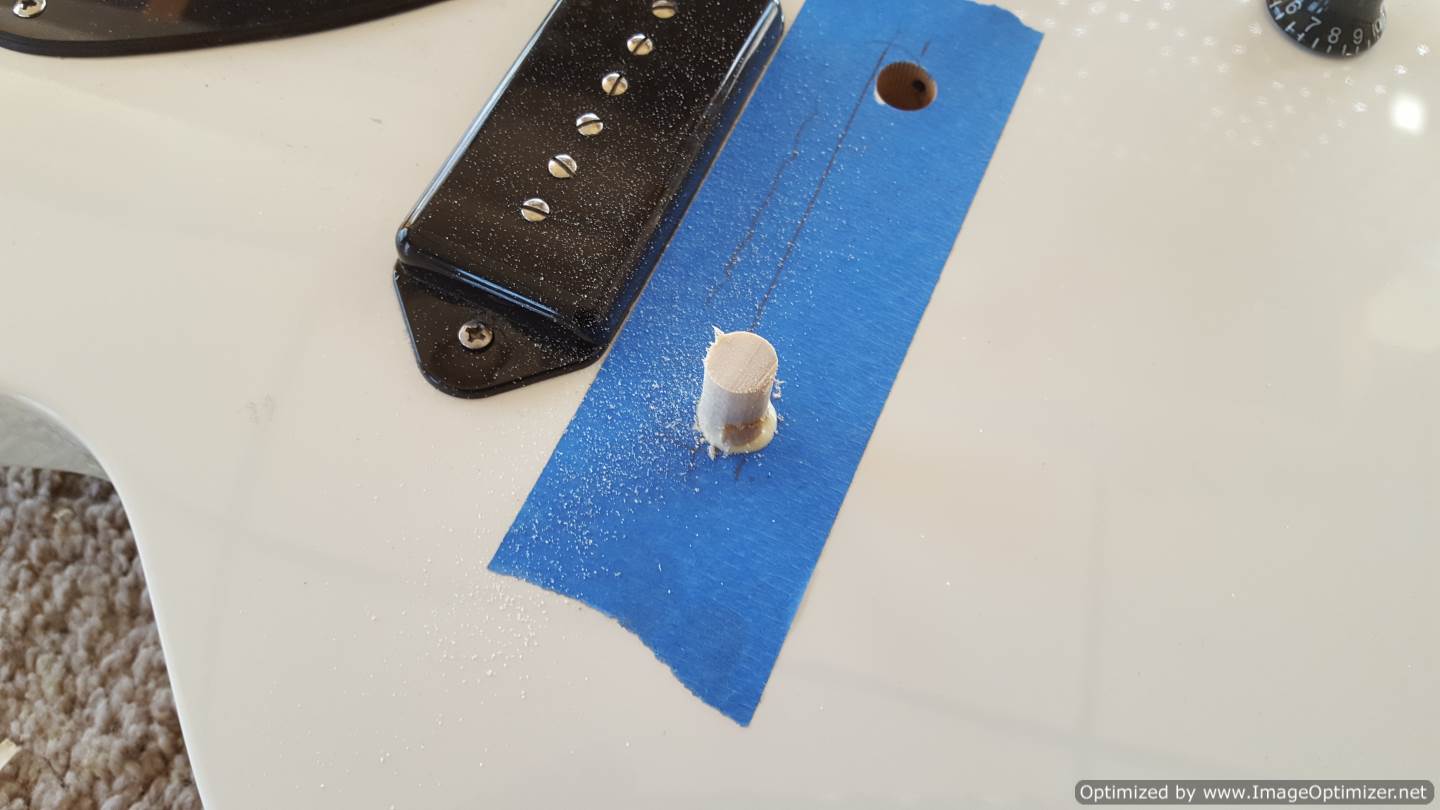
I cut a portion of the second dowel off before gluing in place, because there is a wire that comes from the control cavity to the bridge. I don’t want to completely seal off where this wire comes out!

The new holes are located and drilled on the drill press with a forstner bit. It is a very tight fit and the bridge posts have to be tapped in with a mallet.

And finally, I gave it a basic setup and set the intonation to within 3 cents

So here’s the takeaway from this:
Many people buy knockoff and even counterfeit electric guitars for very cheap. I understand this. I don’t have money to blow on expensive instruments either.
Sometimes these cheap instruments are built to a reasonable standard. Not great, but they’ll stay in tune and they won’t fall apart in your hands. If you get them set up by a luthier or a really good repair tech, you can have a decent electric guitar that sounds okay and plays great, and between the cost of the instrument and the cost of a good setup, you’re not in too deep!
However, it’s also not uncommon for these things to have pretty fatal flaws like what we’ve seen here. Between the cost of the instrument, the new fretboard, the work I’ve done, and now the new pickups he plans on swapping, he could have just bought the real deal and still saved money.
Was this useful? I would love to hear your questions or comments! I try to answer every e-mail I receive, so please be patient with me ![]() eric@ericschaeferguitars.com
eric@ericschaeferguitars.com
Want more of this? Subscribe below for Weekly Guitar Making Tips on “The Small Shop Luthier Blog”
Want to really learn more!? Take a class with Eric Schaefer and build your own guitar in 8 days!

Or Join The Online Guitar Building School