Spoiler alert. The correct answer is… You can never have too many!
This is no longer a statement of opinion, but rather a statement of fact, as evidenced by this trucker hat:

If a trucker hat says it, it must be true!
It is safe to say that the question of “how many clamps” is not a point of contention in the woodworking community.
I teach Lutherie courses and I post pictures of my student’s acoustic guitar builds on facebook every day. It never fails that every time I post pictures of students gluing the top or back plate to the sides, somebody comments, “You can never have too many clamps!”
Its like a rallying cry for a common ideal that holds us all together as craftsmen, and I couldn’t agree more!
![IMG_20151022_181919[1]](http://www.ericschaeferguitars.com/wp-content/uploads/2015/10/IMG_20151022_1819191.jpg)
Students gluing the top and back plates to the sides
In the following paragraphs I will discuss the various clamps that I use as a guitar maker and the pros and cons of different choices. While my experience is within guitar making, I believe that the concepts discussed here will give the woodworker of outside disciplines an alternate perspective on the subject. Hopefully, there is something here for everybody…
I will discuss:
- Wooden Cam Clamps
- C-clamps
- Spring Clamps
- Spool Clamps
- “Ibex” Bridge Clamps
- Interior Mold Clamps
And some other options that we don’t call “clamps” but can achieve the same ends:
- Rubber Bands
- Go-Bars
- Weight
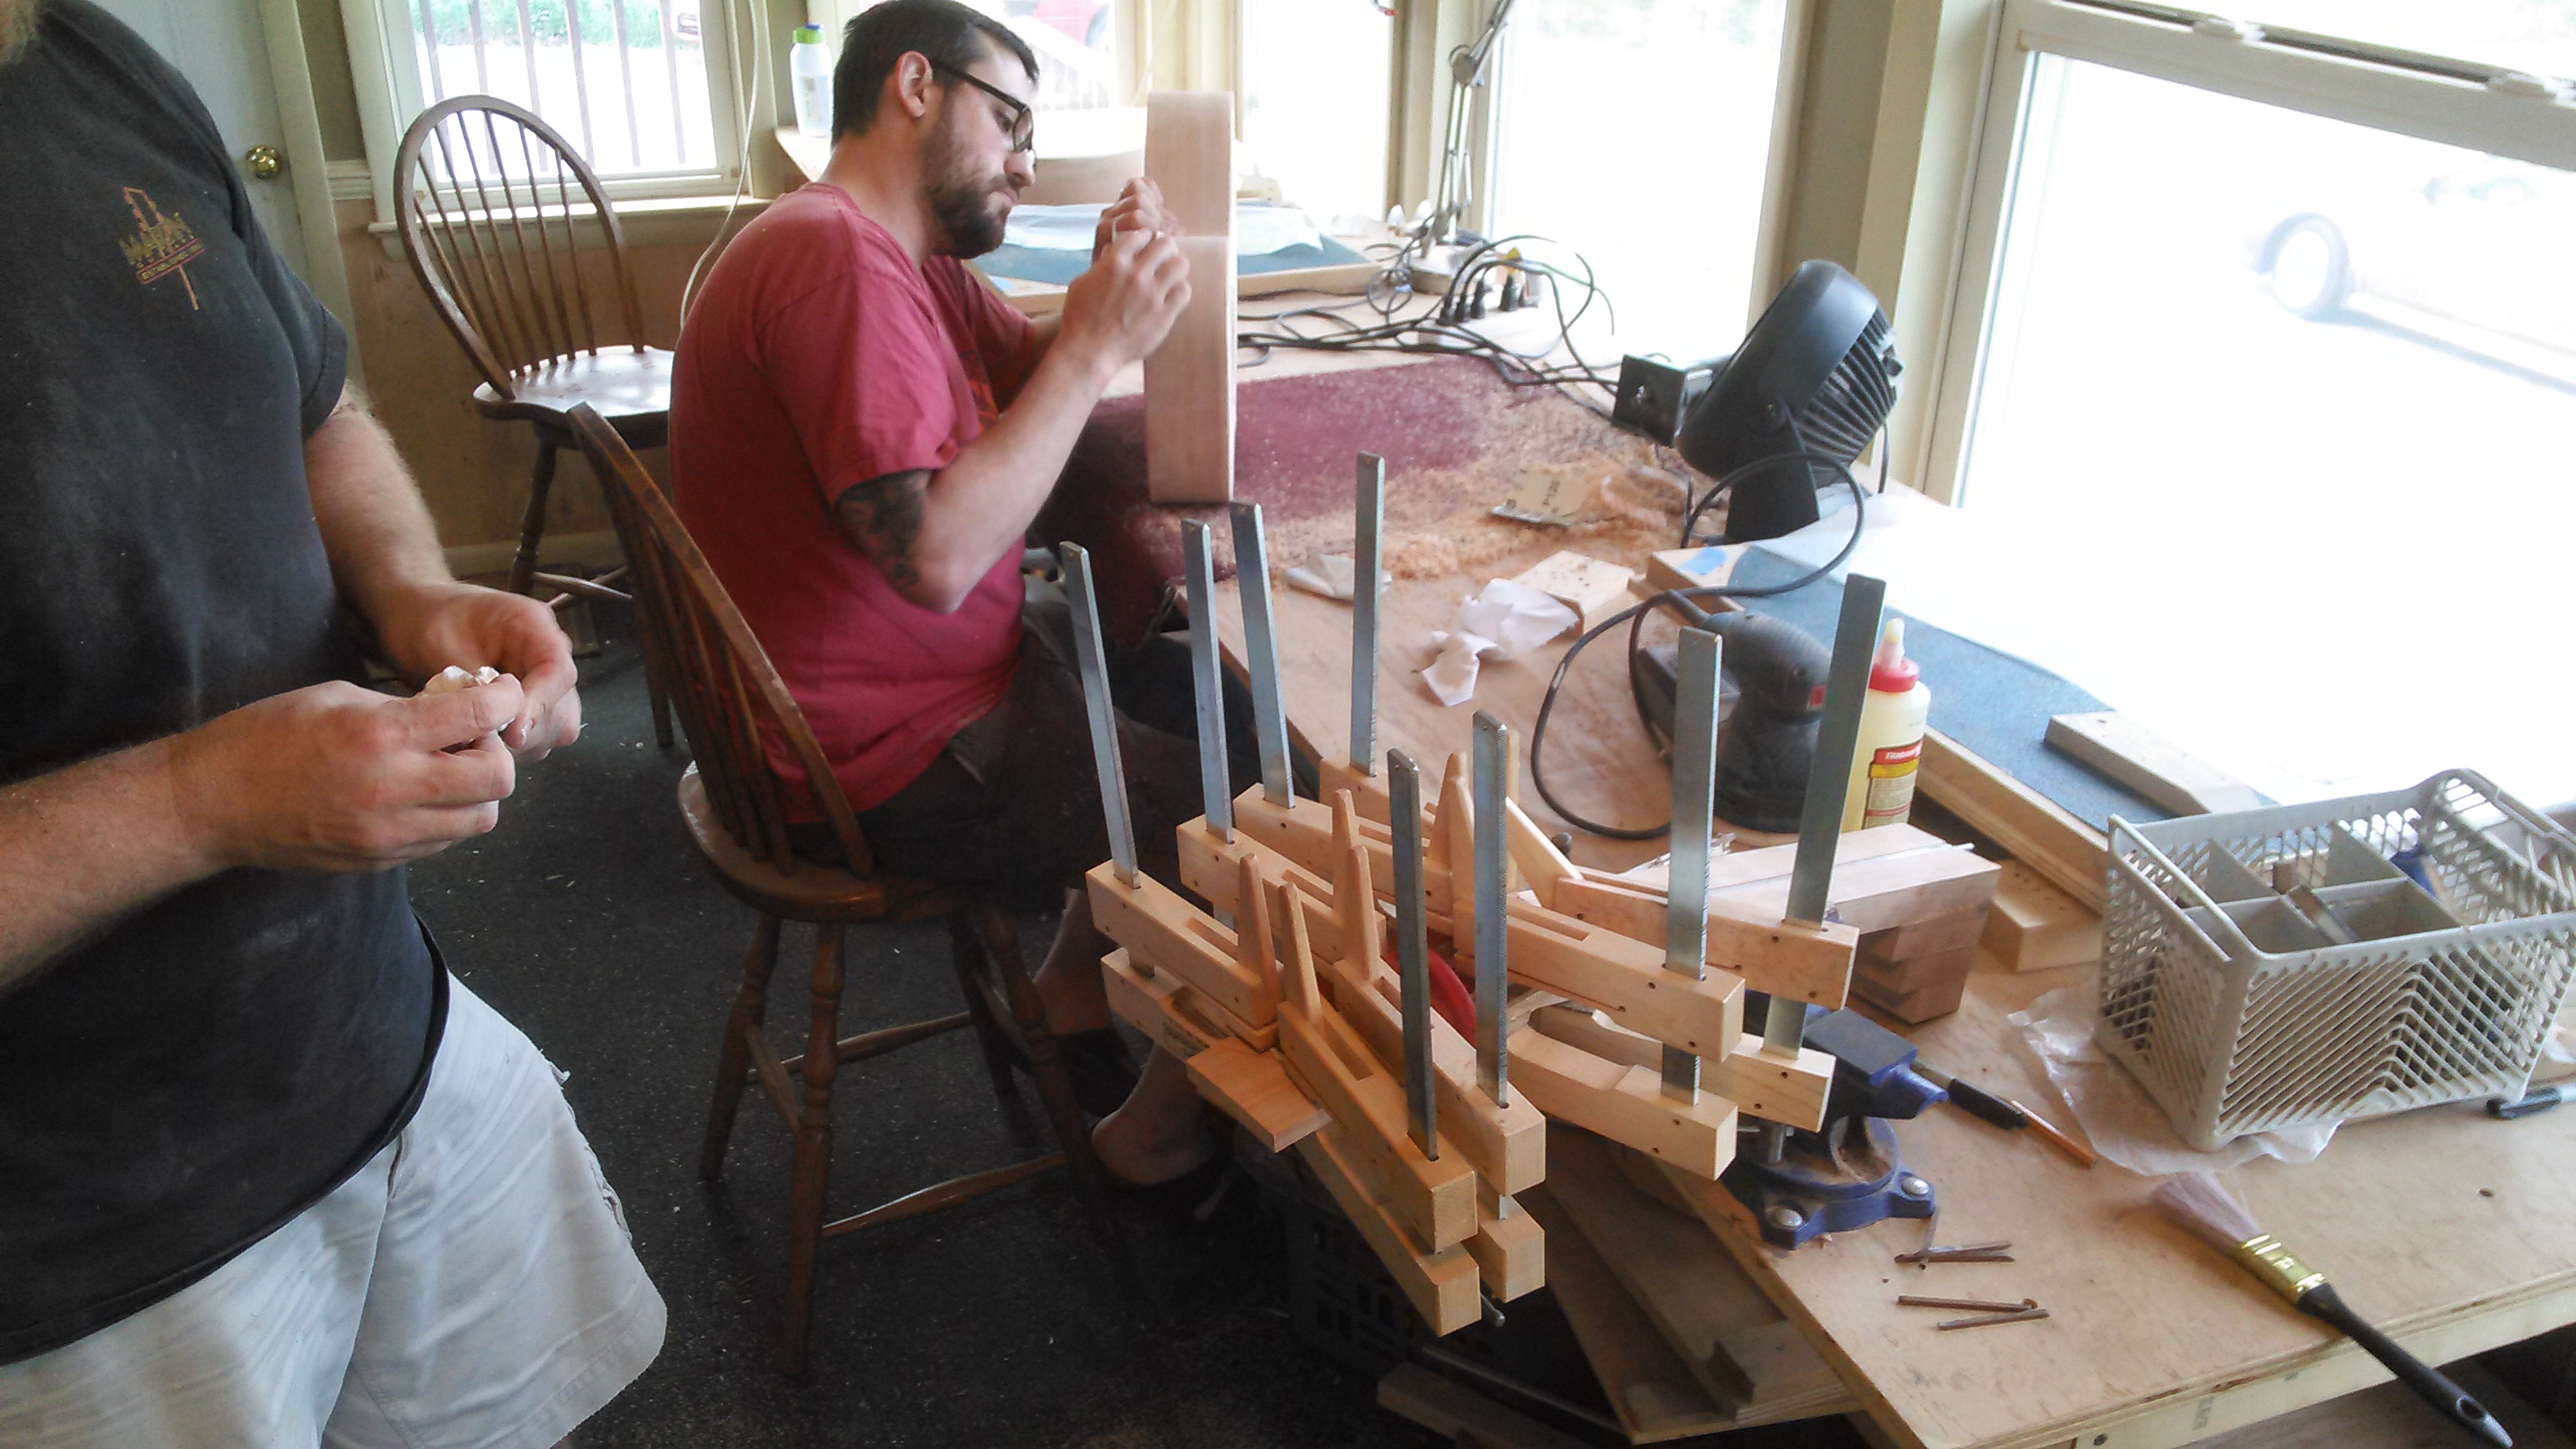
Wooden Cam Clamps
Wooden cam clamps are the backbone of a luthier’s clamp supply, and they’re somewhat of a best kept secret.
It always amazes me how many woodworkers outside of lutherie have never used or even heard of cam clamps. Yet, for many general woodworking applications, they are as good as or better than other clamp types.
They are lightweight, quick and easy to use, have a secure grip and a high clamping pressure, though not as high as other clamps. You can easily vary the pressure and they are wooden with cork-lined jaws, so there is very little risk of marring your work-piece, unless you ding it with the metal bar.
![1445557967573[1]](http://www.ericschaeferguitars.com/wp-content/uploads/2015/10/14455579675731.jpg)
Cam clamps give somewhere in the ballpark of 400 lbs of clamping pressure at their maximum leverage point depending on the strength of the user and how the clamp was constructed. Due to the “camming” action of this type of clamp there is a slight force vector in the direction of the metal bar. In other words, cam clamps apply pressure both straight down and at a slight angle. This can be a disadvantage when trying to glue 2 large, flat surfaces together, such as gluing the headplate to the headstock. Glue acts as a lubricant to the surfaces and the clamp pulls the headplate off its mark. This effect is less pronounced and often inconsequential on smaller pieces such as the braces.
Student Jim Boettger glues the headplate with cam clamps despite their inherent problems. He mitigates the problem by using a C-clamp to “set” the headplate first.
This same pulling effect can be used as an advantage in certain situations. The bridge plate is a large, flat surface that tends to “swim” off its mark when glue is applied. Using cam clamps to pull the bridge plate against the arms of the x-brace is an effective clamping strategy.
Student Chris Pulli gluing the bridge plate
Make Your Own Cam Clamps
I had the privilege of meeting Frank Finnochio, a well-respected luthier out of Easton, Pennsylvania, when I was just starting out. It was a short visit but I asked about cam clamps and he recommended cam clamps with aluminum bars rather than steel. Aluminum is far lighter than steel and still strong enough, since the pressure is being applied against the narrow face of the bar and across the width. The aluminum clamps are less back-heavy.
I asked him where he purchased his cam clamps with the aluminum bar stock. He told me he purchased all the clamps he needed 20+ years ago and the man he purchased them from was 80 years old at the time. I took down the man’s name but I wasn’t surprised when a google search for his clamps didn’t yield any relevant results.
So rather than buying commercially available cam clamps with steel bar stock, I began making my own clamps with aluminum bar stock.
The difference is subtle and I still regularly use the StewMac cam clamps that I own, but the lightweight aluminum clamps that I made I find to be ideal for certain delicate operations, like brace work.
Cam clamps are easy to make for you DIY’ers. I will post a how-to on making cam clamps in a future article.
I took inventory on my clamps and I have a whopping 68 wooden cam clamps! Don’t let this discourage you, though. If you are just getting starting out you only need a handful of clamps to get by. Make or buy just 6 and have a variety of short and long clamps.
![IMG_20151022_183123[1]](http://www.ericschaeferguitars.com/wp-content/uploads/2015/10/IMG_20151022_1831231.jpg)
Tip: Use the long cam clamps as a set of hands for routing off of small templates on the router table.

C-clamps
I took a peek at Bessey’s website and they have heavy-duty C-clamps for metalworking and heavy construction that are capable of producing as much as 40,000 lbs of clamp force! Yikes! Thats more clamp force than I usually need by a factor of 100!
Light duty, general use C-clamps are the kind available in hardware stores and they provide more than enough clamp force for guitar work and really any woodworking purposes…way more than enough! With up to somewhere in the ballpark of 1800 lbs of clamp force from the larger light-duty clamps!
C-clamps come in a variety of sizes. These are the sizes I find useful in my shop, but if you’re just getting started 4″, 1.5″, and deep reach clamps are all you need; I’d recommend 2 of each.
![1445567988441[1]](http://www.ericschaeferguitars.com/wp-content/uploads/2015/10/14455679884411.jpg)
I included the bar clamp in the picture above simply to illustrate the significant difference in maximum clamp force between bar clamps and C-clamps. This is due to the mechanical advantage of the pin at the end of the threaded screw portion of the clamp.
Note: Keep in mind that all these clamps have variable clamping pressure, so just because a clamp CAN crush your work into smithereens, it doesn’t mean that it will!
The pros of C-clamps:
-The clamp force is directed straight down along the vertical axis of the clamp so it doesn’t “pull” your work-piece off of its mark. This is important for “setting” the inital tack of a glue-joint. As mentioned previously, this can be a big deal when you are dealing with large, flat surfaces.
-The extra clamping force is beneficial for holding a work-piece to the bench during hand-sawing operations, where cam clamps sometimes don’t hold up to the side-to-side vibrations.
– The bearing surface at the end of the threaded screw part of the clamp has some free wiggle in all directions. This allows for secure clamping between surfaces with slightly angled planes as seen below.
![IMG_20151023_135150[1]](http://www.ericschaeferguitars.com/wp-content/uploads/2015/10/IMG_20151023_1351501.jpg)
The cons of C-clamps:
- They’re heavy.
- They are not quick to use. Dry runs are always a good idea, but they are even more important when using C-clamps because of the significant time it takes to turn the threaded screw. I can’t tell you how many times I’ve skipped the dry run only to find that all my C-clamps are threaded out all the way to the end.
- The pin at the end of the threaded screw crowds out other clamps in tight situations such as the one below. This problem can be mitigated, however, by alternating which side the pin is on and/or by using a variety of clamp sizes so that the pins aren’t all at the same height.
- The clamp force is concentrated between two small metal points. Not ideal for holding or gluing wood surfaces. For this reason, C-clamps require padded cauls in order to more evenly distribute pressure and to protect the surfaces. Notice the caul in the picture above

Spring clamps
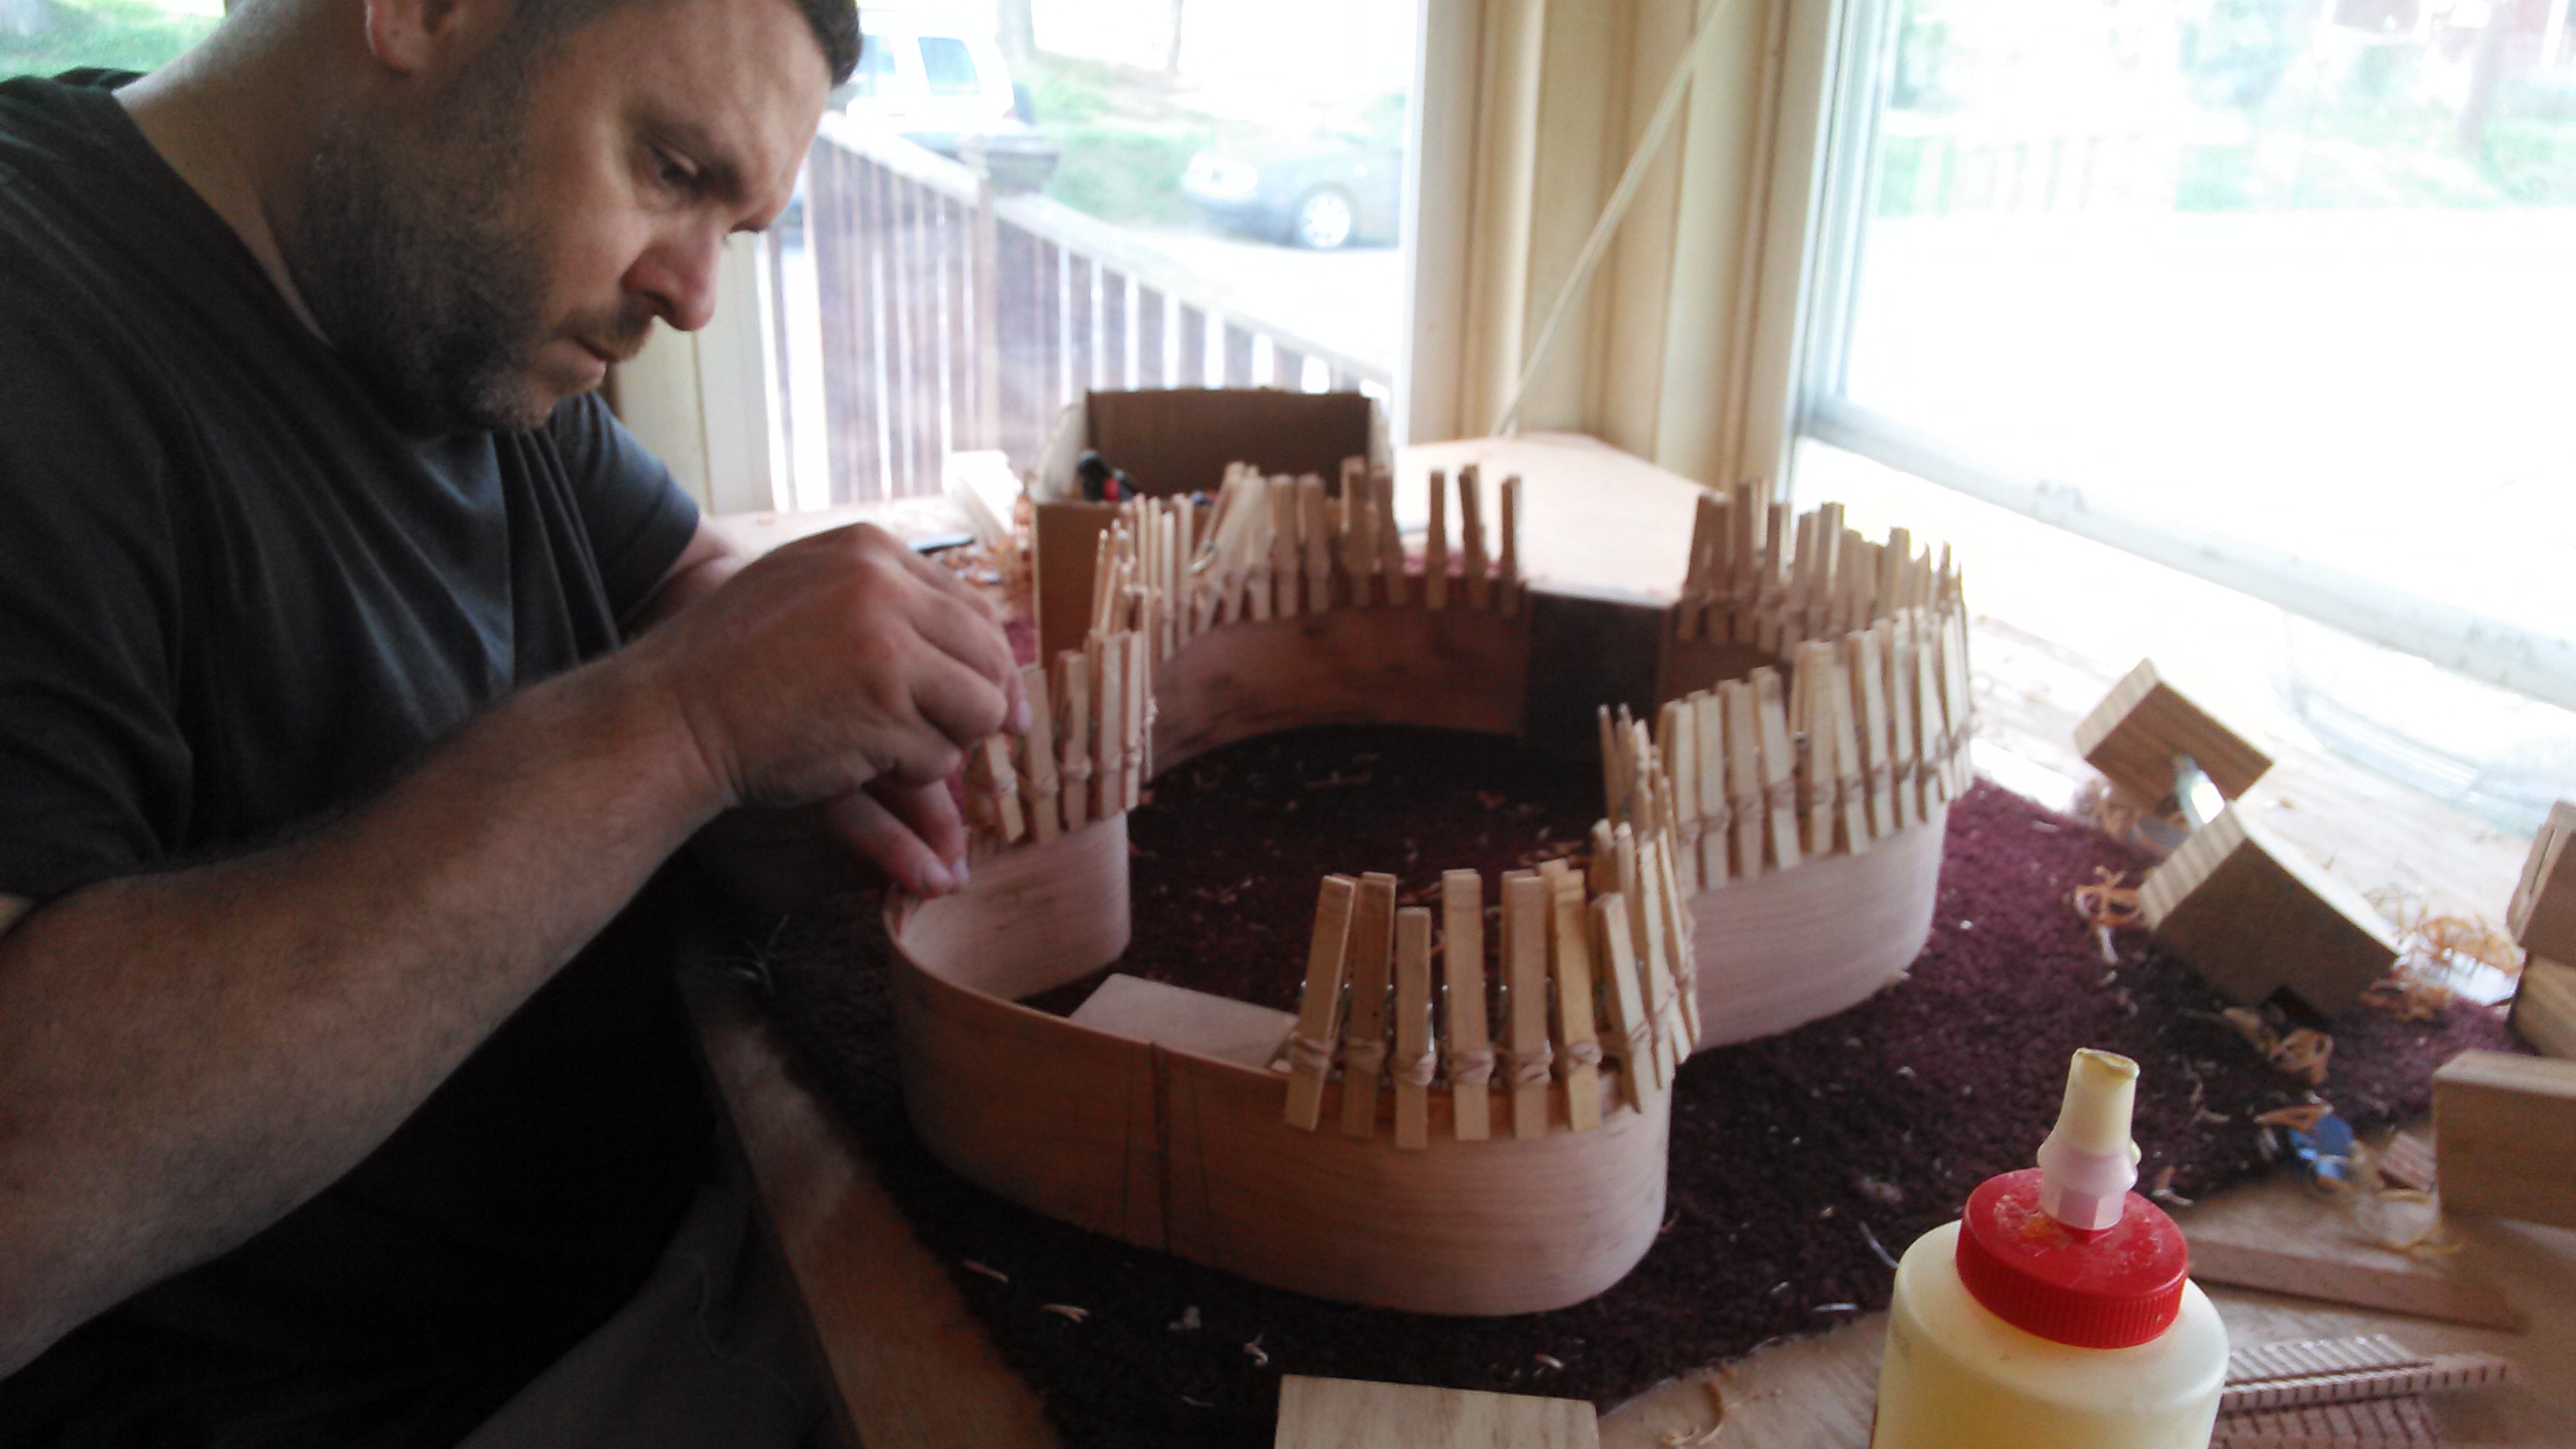
Spring clamps are lightweight, low-cost, and even easier to use than cam clamps. Just squeeze the trigger and release. The trade-off is in strength. Spring clamps are only as strong as their spring.
![IMG_20151023_161355[1]](http://www.ericschaeferguitars.com/wp-content/uploads/2015/10/IMG_20151023_1613551.jpg)
They are great for any situation where you simply need an extra hand. The relatively light hold is enough for aligning and marking out dimensions.
They are appropriate, however, for some gluing operations, particularly delicate ones where the weight of the clamps are a paramount concern.
Student David Shelly uses spring clamps to glue the side braces to the ribs of his guitar.
Tip: For cheap and easy DIY miniature spring clamps like the one on the left side of the picture, buy a pack of regular clothespins and wrap a rubber band around the jaws of each clothespin
![IMG_20151023_164524[1]](http://www.ericschaeferguitars.com/wp-content/uploads/2015/10/IMG_20151023_1645241.jpg)
These “clothespin spring clamps” can be used to glue the kerfing to the sides.
Student David Shelly glues the kerfing to the sides
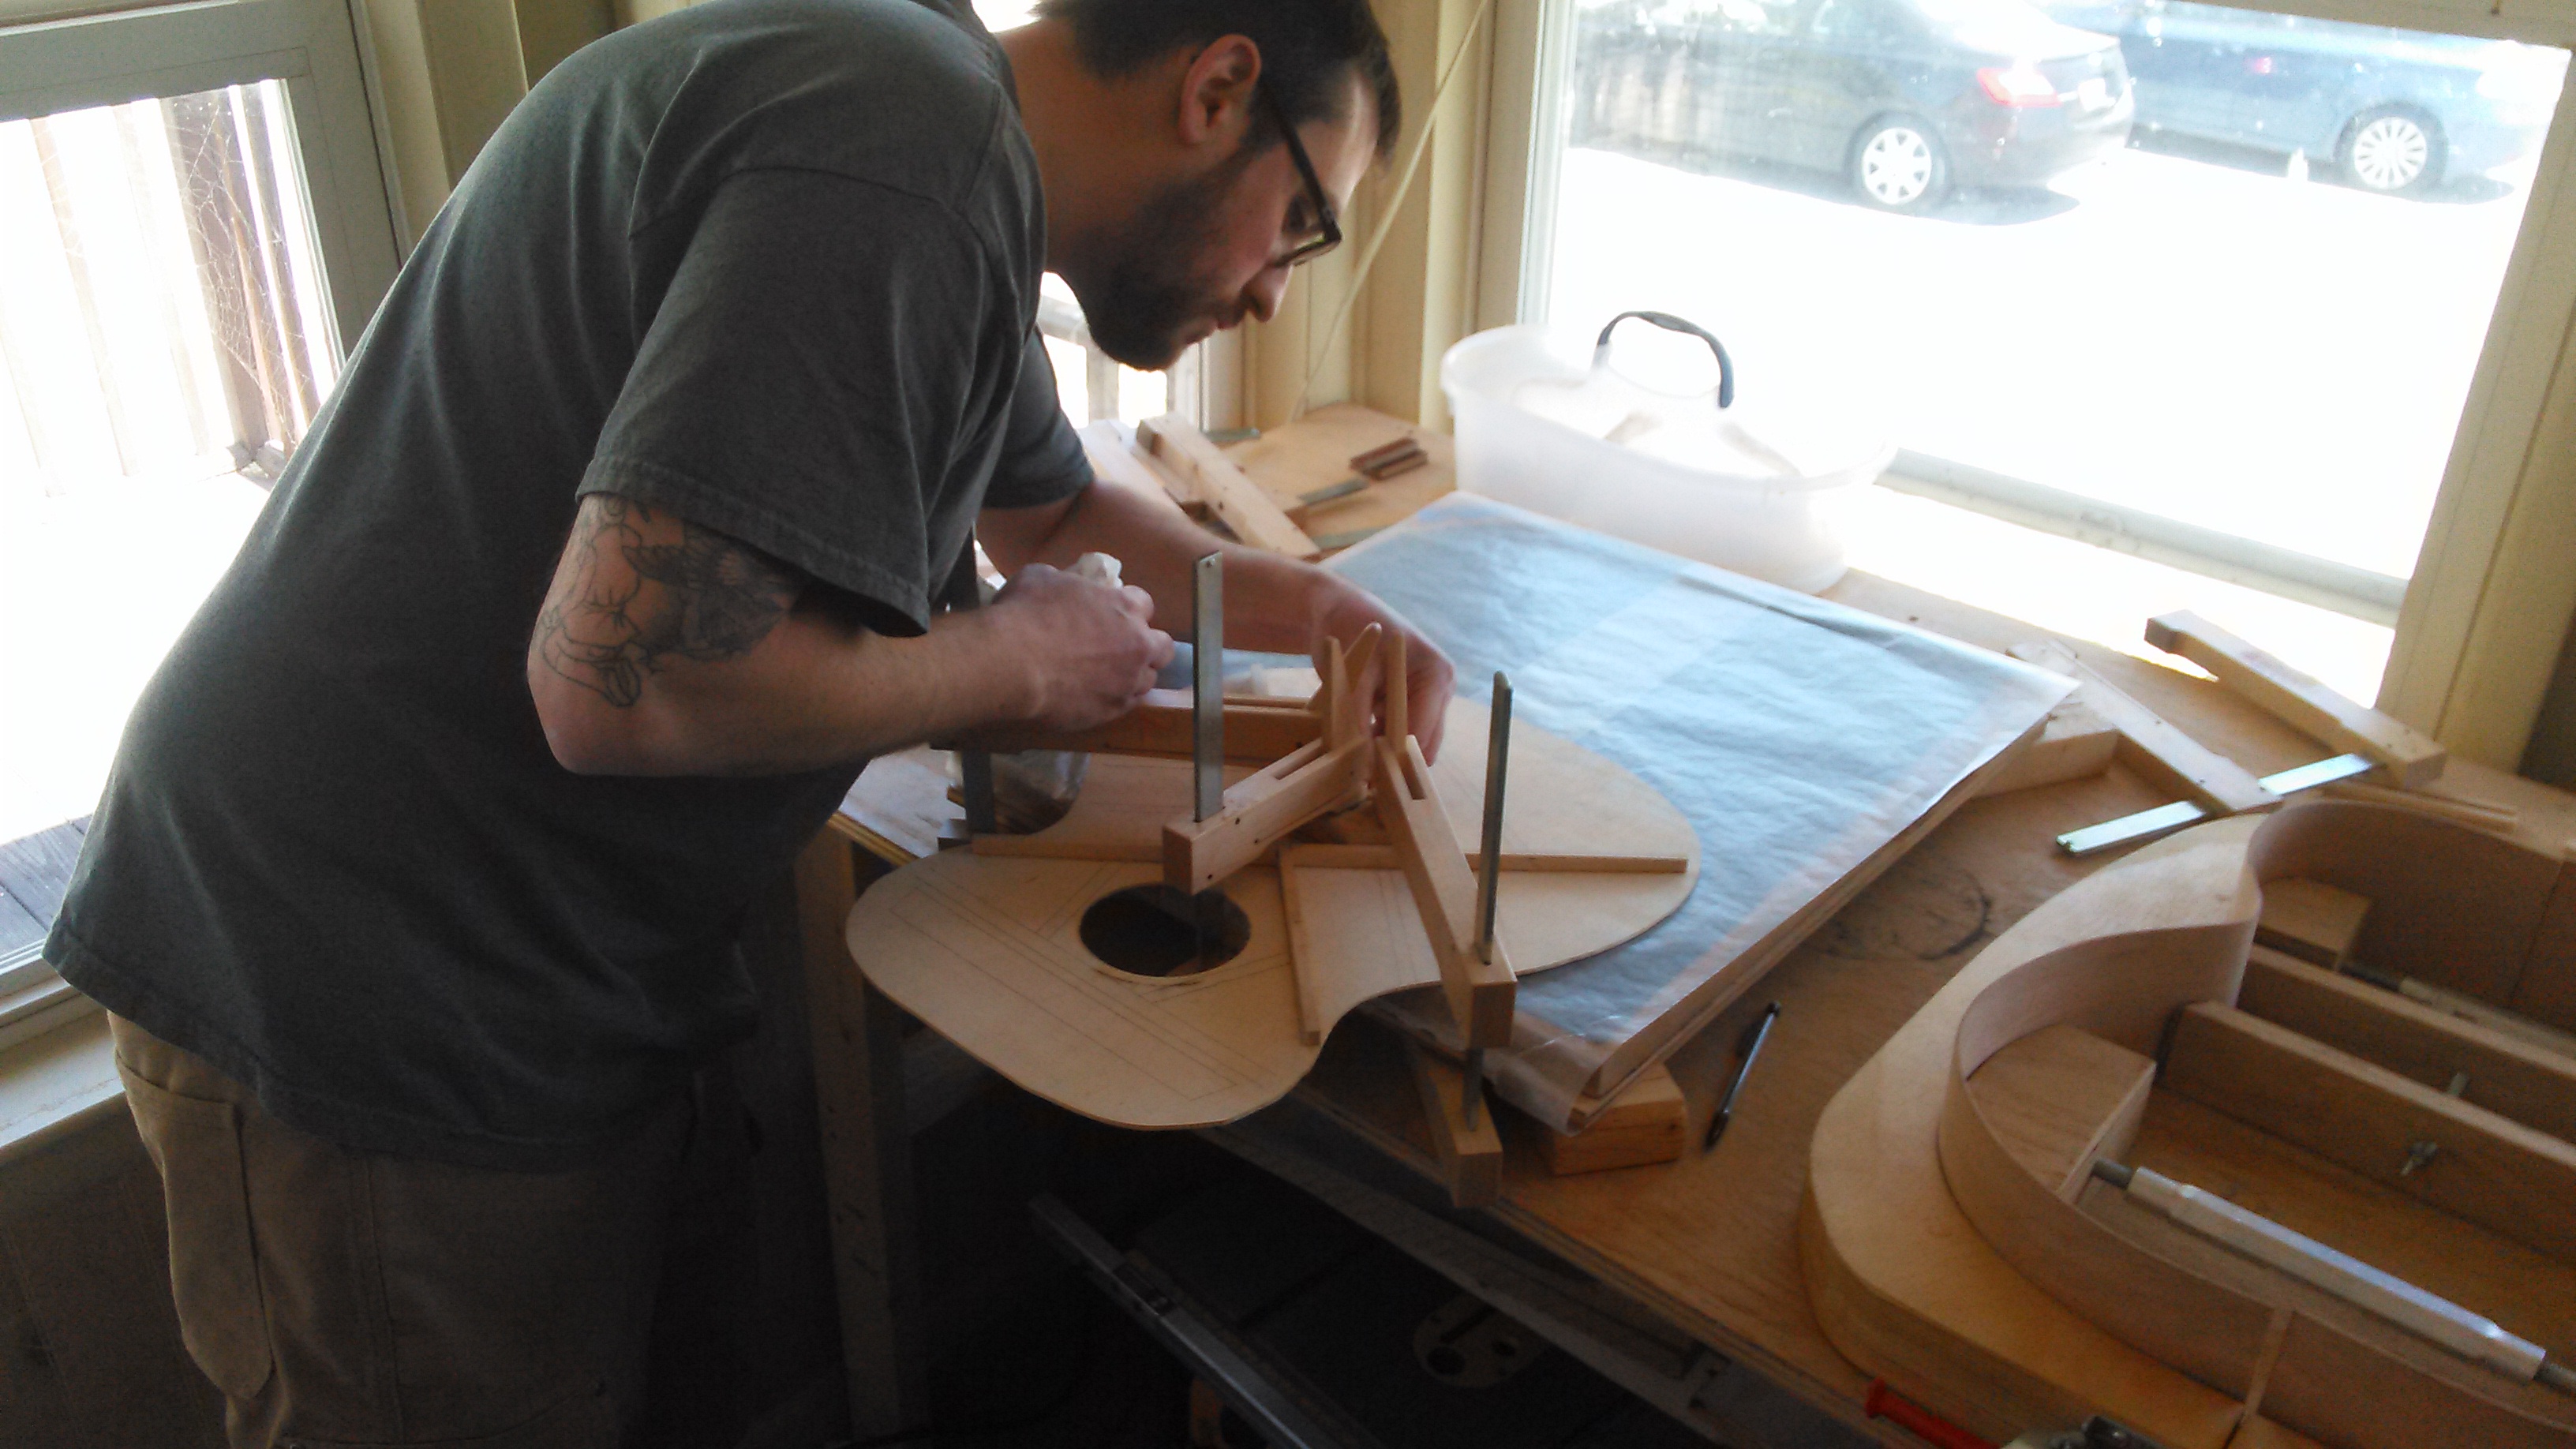
Spool Clamps
Spool clamps are another luthier designed tool. The spool clamp you see below consists of nothing more than a cork-lined wooden plug or dowel with a lag bolt passing through it. A wing nut and a flat washer are threaded onto the other end to make up the lower bearing surface.
![IMG_20151026_122224[1]](http://www.ericschaeferguitars.com/wp-content/uploads/2015/10/IMG_20151026_1222241.jpg)
Spool clamps work perfectly with the “solera” method of guitar assembly. They are much cheaper and easier to make than wooden cam clamps.
![IMG_20151026_123820[1]](http://www.ericschaeferguitars.com/wp-content/uploads/2015/10/IMG_20151026_1238201.jpg)
The “solera” workboard for acoustic guitar assembly
“Ibex” bridge clamps, yet another luthier-specific clamp, were originally designed by Irving Sloane.
![IMG_20151023_172536[1]](http://www.ericschaeferguitars.com/wp-content/uploads/2015/10/IMG_20151023_1725361.jpg)
They are lightweight, and are sized to reach the bridge from inside of the soundhole on almost any guitar, even guitars with 12 frets to the body. Most importantly they have more clamp force than a wooden cam clamp, which is very desirable for this all too important glue joint.
![IMG_20151020_085720[1]](http://www.ericschaeferguitars.com/wp-content/uploads/2015/10/IMG_20151020_0857201.jpg)
Student Sam Young’s guitar clamped using Ibex Bridge Clamps on the wings.
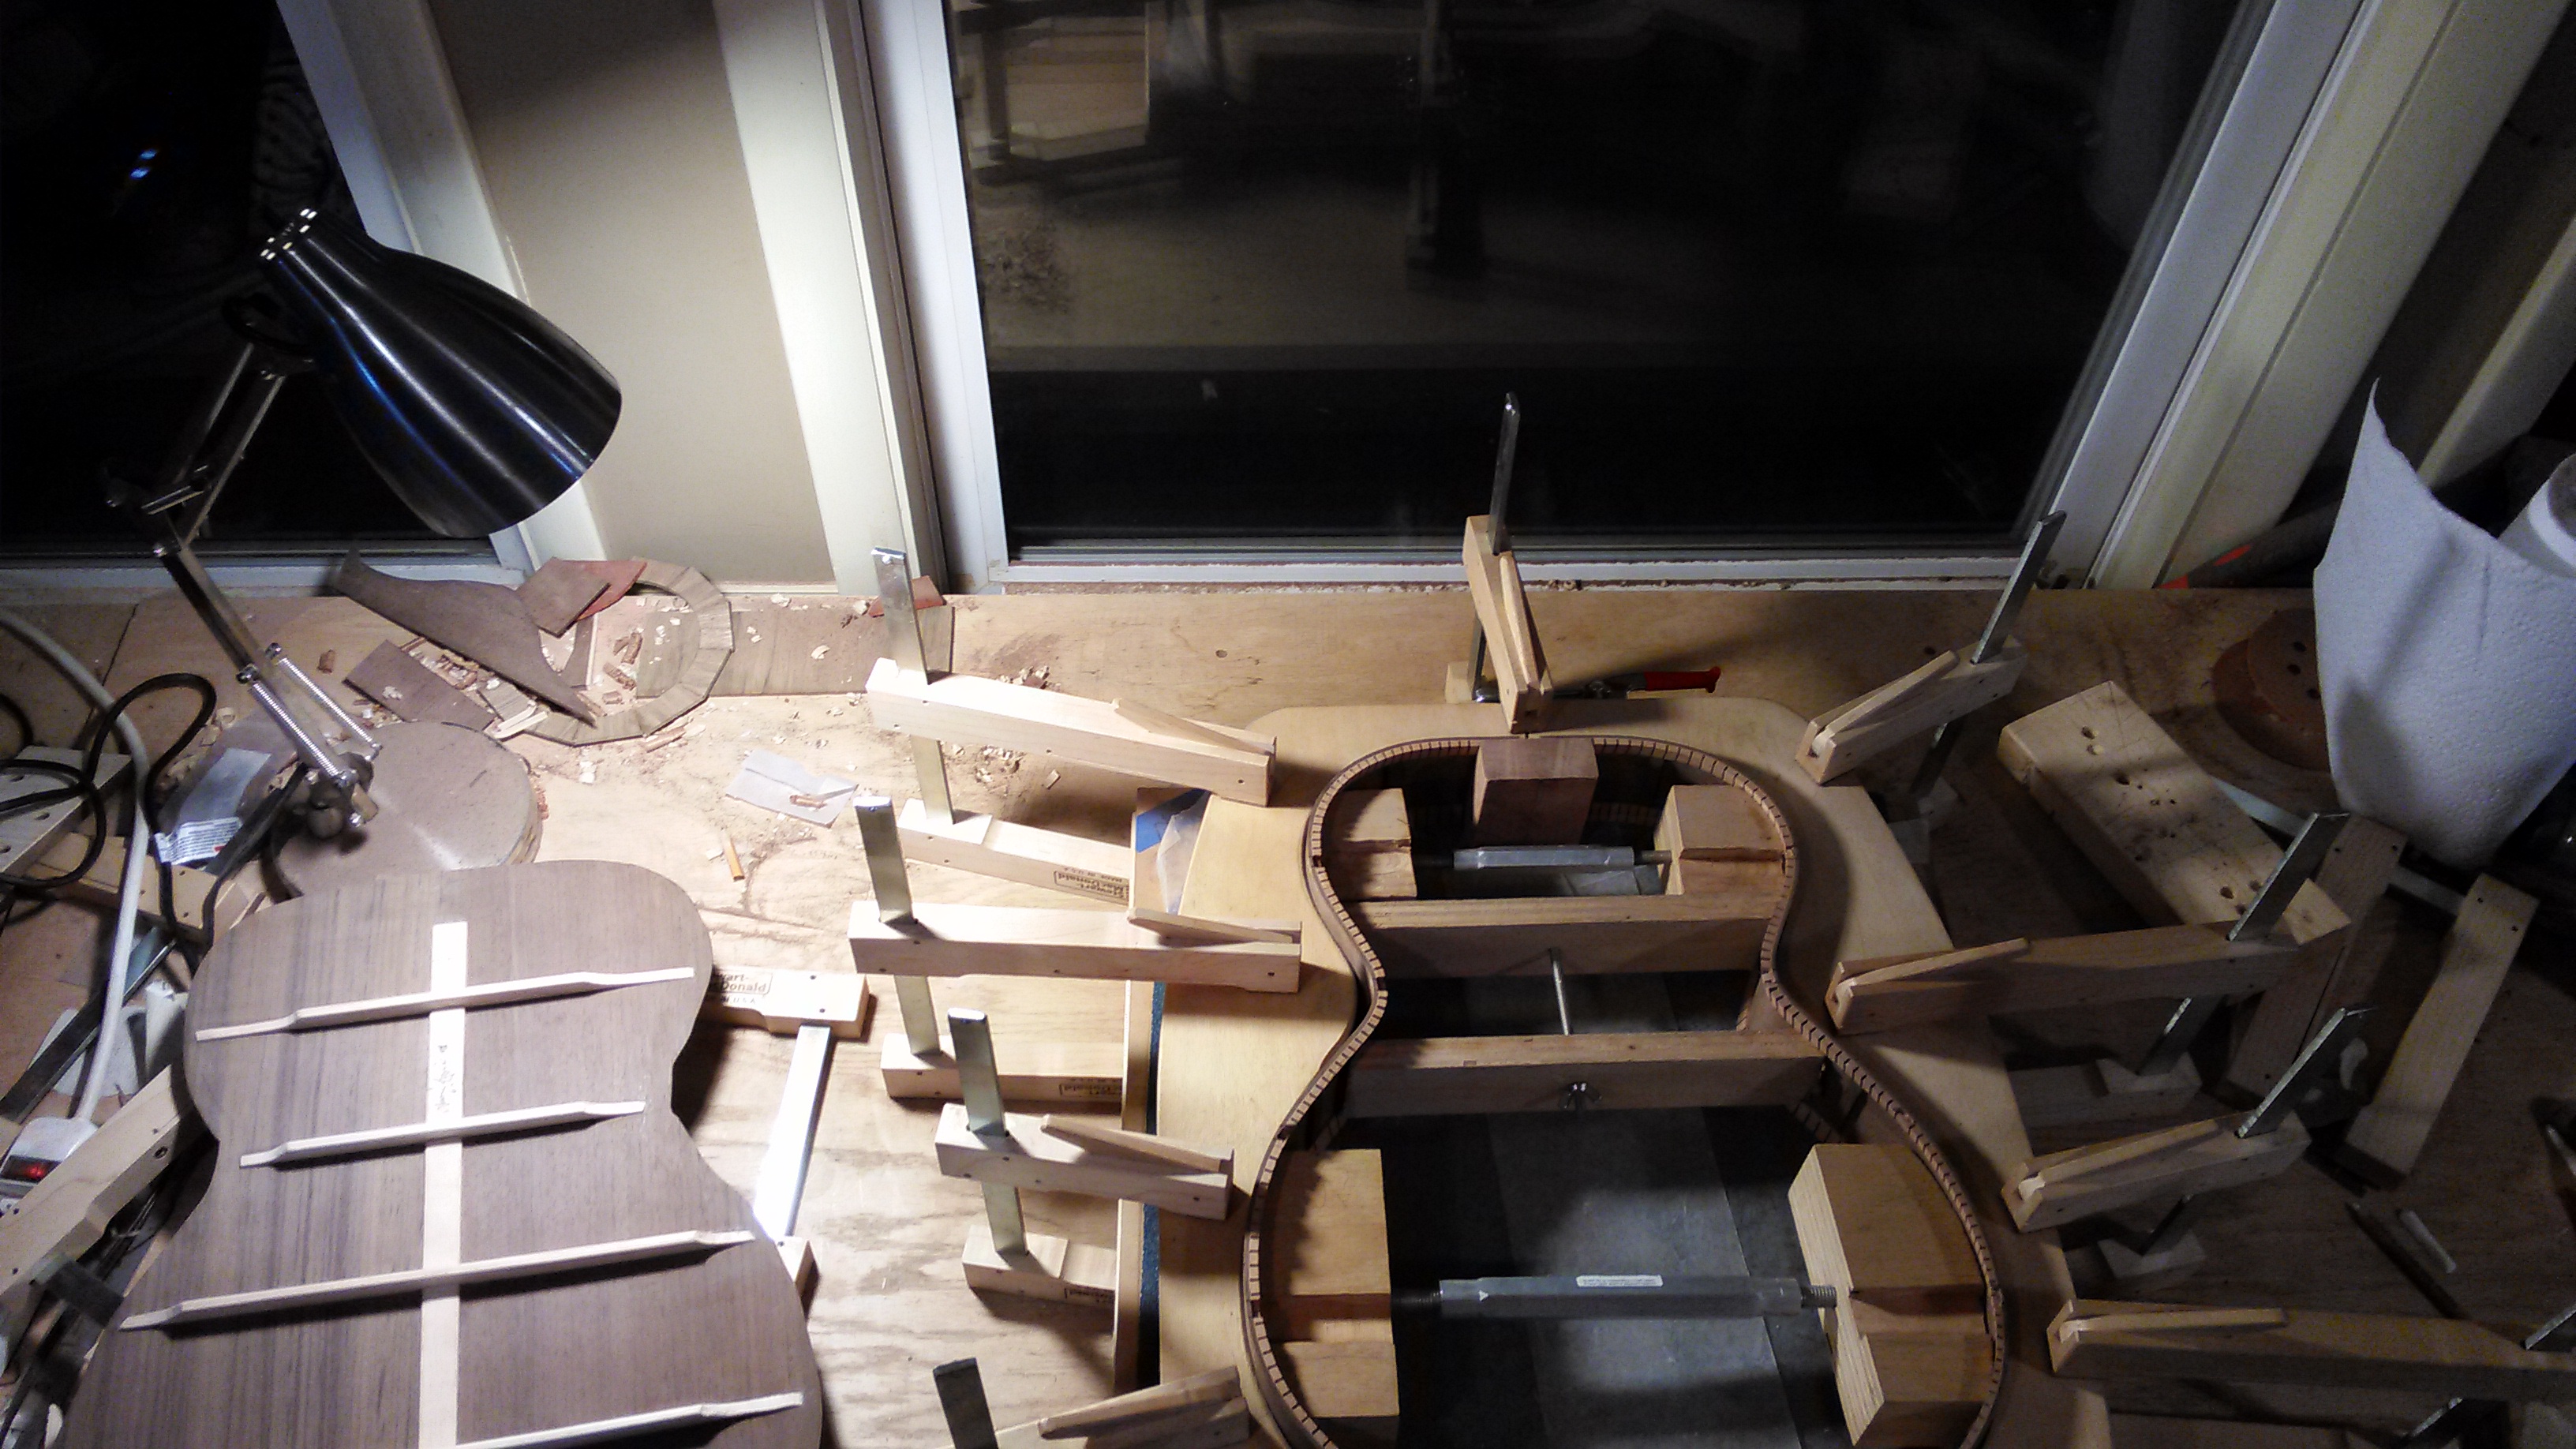
Interior mold clamps are made from a regular hardware store turnbuckle and blocks of wood shaped to bear against the upper bout region and the lower bout region of the inside of the sides. When you turn the turnbuckle, both ends extend and pressure is increased outward. This holds the sides tight against the form and maintains their square during glue up of the back plate.
The interior mold clamps are also critical for preventing cracking of the sides while radius sanding the sides and kerfing as seen below.
Student Aaron Cromie prepares to radius sand the kerfing.
You may notice that the clamp for the waist region of the guitar is different than the two for the upper and lower bout.
The waist clamp is simply 2 pieces of plywood cut to appropriate length and with the ends shaped to match the curves of the waist. A bolt is threaded through both plywood pieces and a wing nut threaded onto the end. The clamp works by pinching the waist.
![IMG_20151026_171955[1]](http://www.ericschaeferguitars.com/wp-content/uploads/2015/10/IMG_20151026_1719551.jpg)
The waist clamp
![IMG_20151027_114438[1]](http://www.ericschaeferguitars.com/wp-content/uploads/2015/10/IMG_20151027_1144381.jpg)
Heavy duty rubber bands, such as the kind bought from Woodcraft stores, are great for clamping awkward shapes that other clamps would simply slide off of.
Some luthiers use these to clamp the top and back plates to the sides. They build a workboard with small L-hooks screwed in around the outline of the guitars shape. The rubber bands grasp the L-hooks on either side.
Of course, using the appropriate strength rubber band is important here.
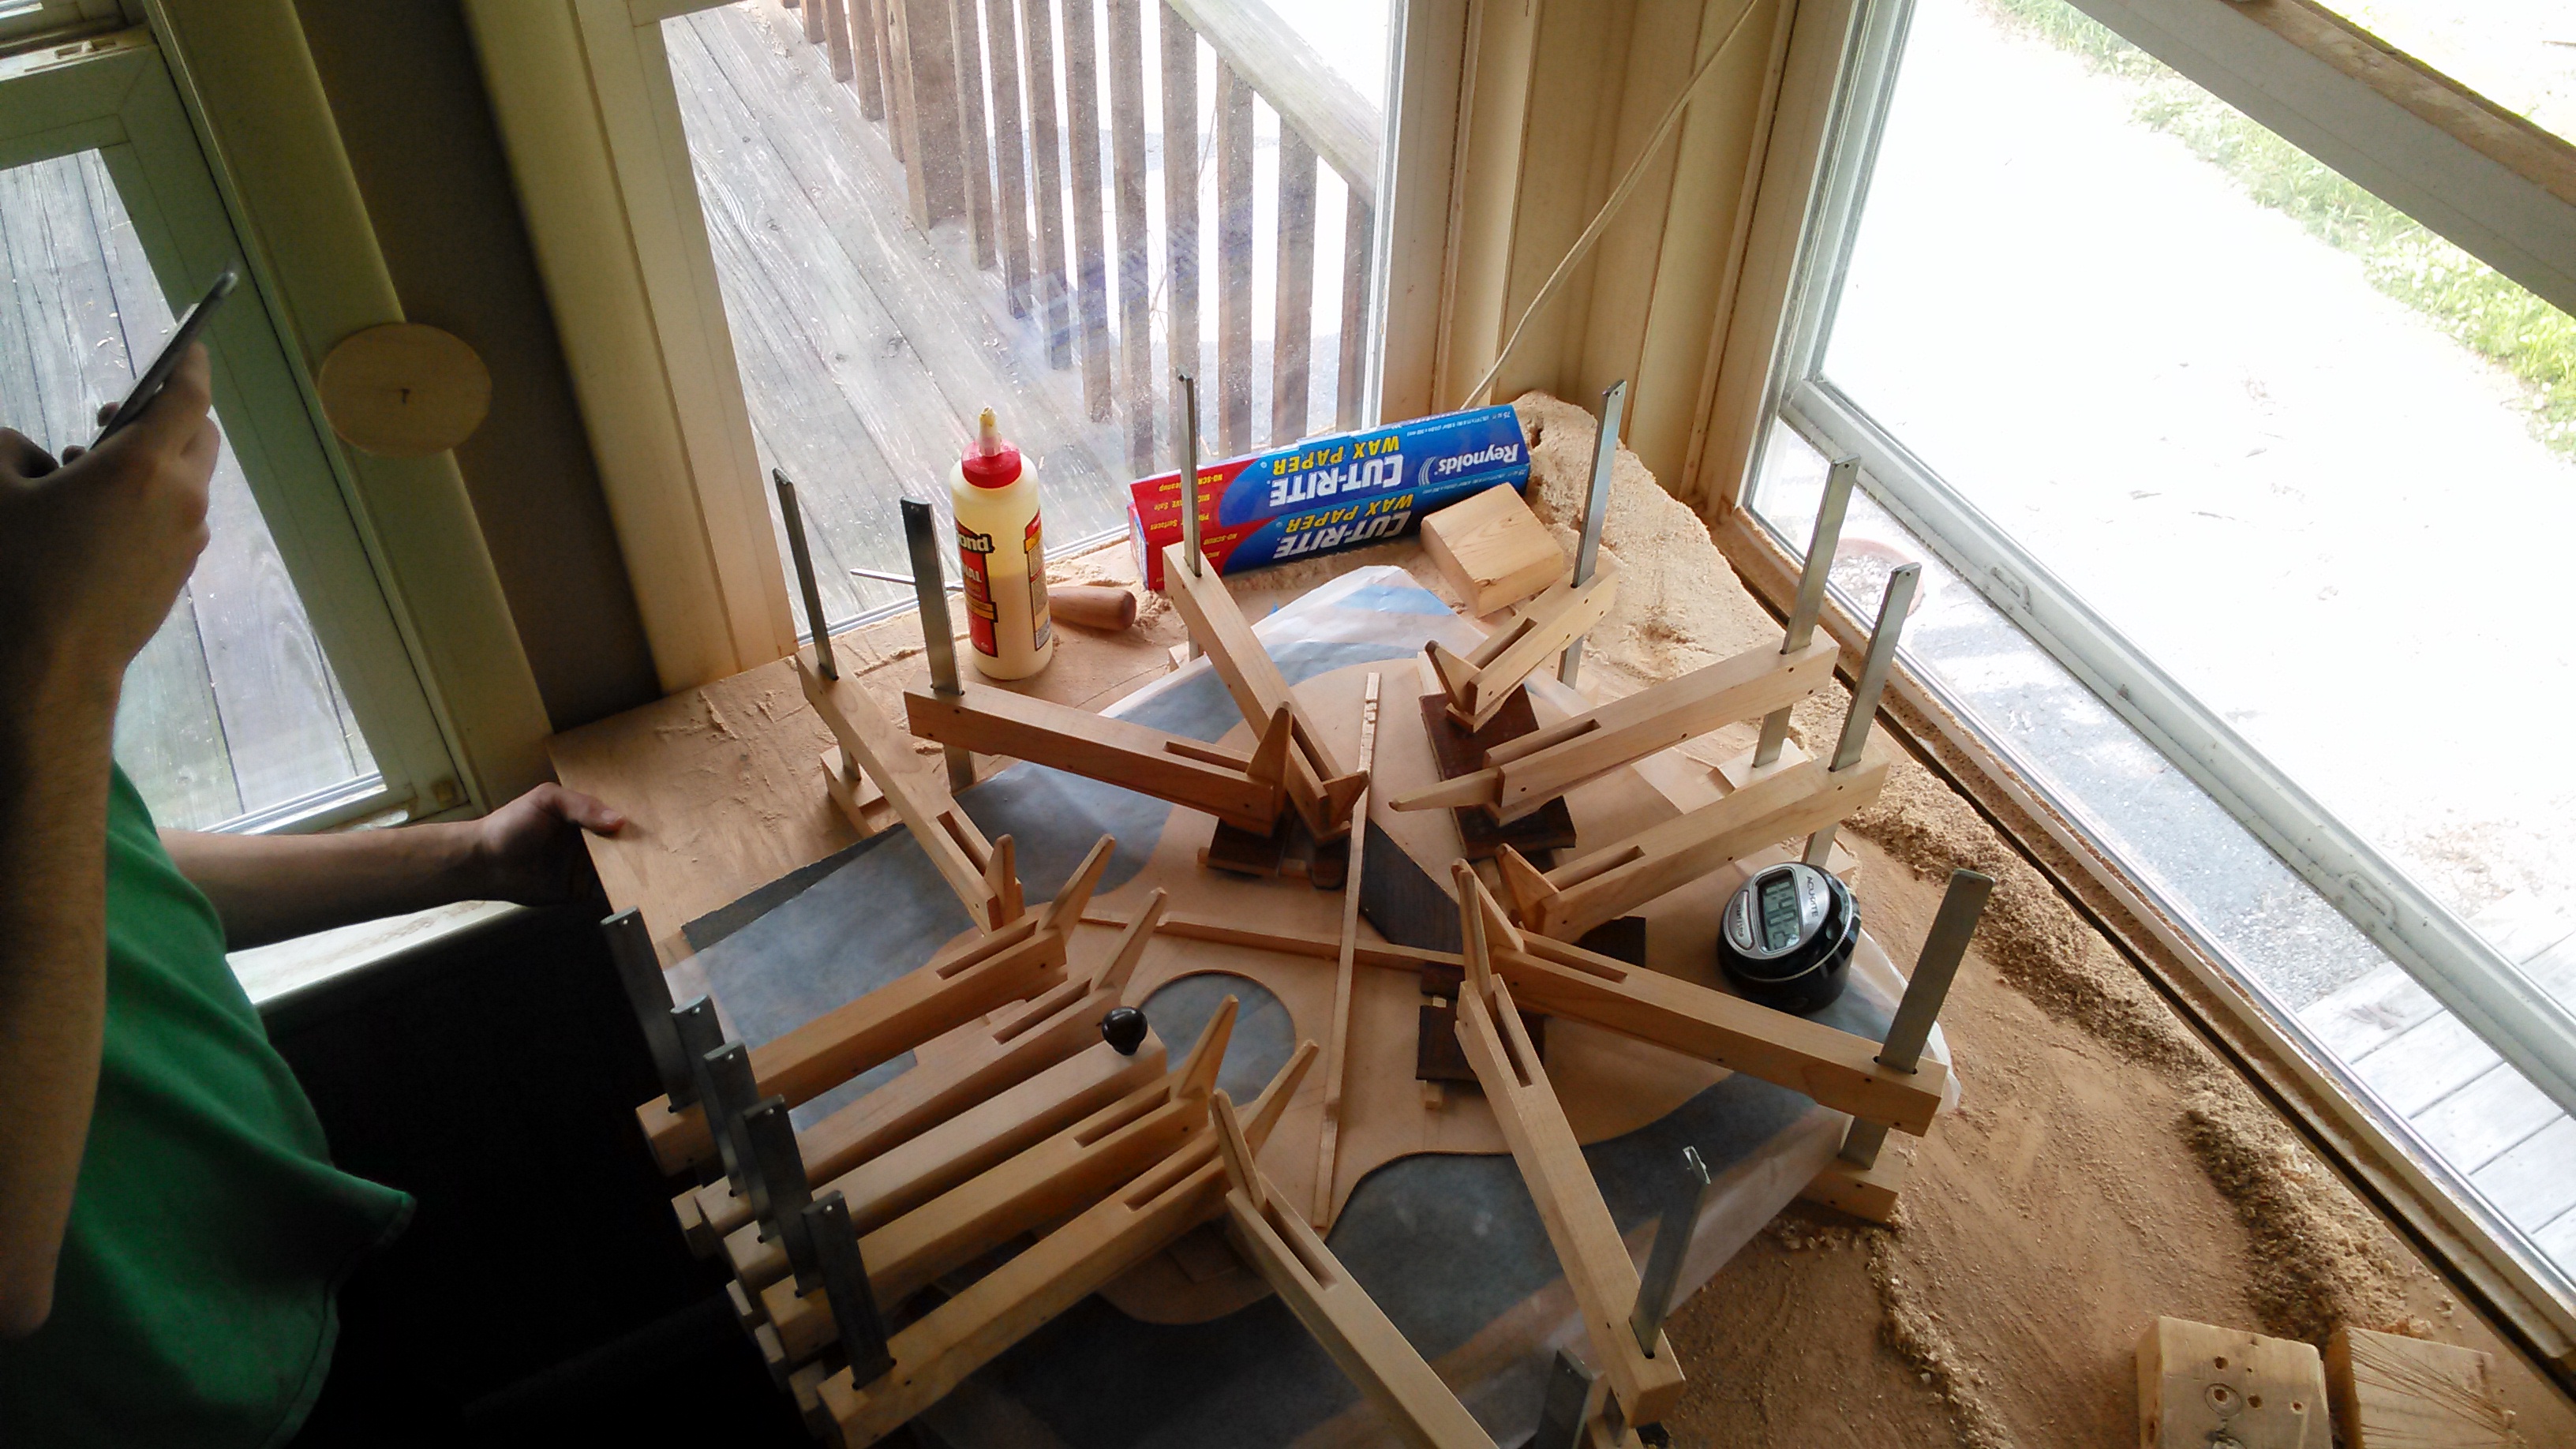
Go Bars
![IMG_20151027_115832[1]](http://www.ericschaeferguitars.com/wp-content/uploads/2015/10/IMG_20151027_1158321.jpg)
Go-bars are simply flexible rods. The white rods on the left side of the above picture are commercial fiberglass go-bars. To the right of that is a bundle of homemade wooden go-bars, which are simply thin strips of oak. The large gazebo-like apparatus that surrounds the go-bars in the picture above is called a go-bar deck.
Go-bars work by compression, as seen in the picture below.
![IMG_20151027_153903[1]](http://www.ericschaeferguitars.com/wp-content/uploads/2015/10/IMG_20151027_1539031.jpg)
The benefit of go-bars is that they don’t compete for space like other types of clamps do, and finding a clamp with a throat deep enough to reach to the center of a large piece is not an issue with a go-bar system.
Luthiers use the go-bar advantage when gluing the complex and delicate bracing of the top and back. Using this system, a luthier can glue all the braces at once because the “clamps” don’t compete for space and they can reach out to the middle of the work-piece to clamp, say, the bridge plate or the intersection of the x-brace.
Keep in mind that having a go-bar deck and go-bars is not a necessity for stringed instrument making. This system simply makes gluing the braces quicker and easier, but if you don’t have this kind of setup there are many other ways to glue your braces. You just may have to glue them in steps rather than all at once.
Gluing braces with cam clamps and cauls to distribute pressure across braces.
Weight
Last but not least, sometimes the solution to your clamping dilemma is simpler than you may initially think.
I keep severally hefty objects of various weight and size around the shop for situations that call for very low clamping force and a wide distribution of pressure.

I use weights, for example, to keep the centerseam of the backs and tops from buckling under pressure during the joining process.
Well there you have it! Now you have an excuse to buy even more clamps that you didn’t know you needed!
Was this useful? I would love to hear your questions or comments! I try to answer every e-mail I receive, so please be patient with me ![]() eric@ericschaeferguitars.com
eric@ericschaeferguitars.com
Want more of this? Subscribe below for Weekly Guitar Making Tips on “The Small Shop Luthier Blog”
Want to learn more? Take a class with Eric Schaefer and build your own guitar in 8 days


